Ah, homemade almond milk.
 It really is a completely different creature than the stuff at the store in the carton. I cannot explain how vastly superior it is...really just try it at least once. Homemade almond milk is creamy, rich, fresh and wholesome. It utterly incomparable to store-bought. No weird ingredients, chemicals, or preservatives, it can be made as thick or thin as desired and customized to be vanilla, plain, chocolate, or whatever!

This is not a new concept. There are many, many posts on how to make almond milk. They're all pretty much the same, with varying degrees of almond to water ratio. However, when I was embarking on making homemade almond milk, I never found a post with in-depth personal tips...and I kind of wish I had. But, my mistakes are yours not to make, so here we go! This is a very comprehensive how-to, so feel free to read or take whatever tickles your fancy. No obligations.
Recipe first and lessons after.
Homemade Almond Milk
Makes ~8 Cups
- 8 cups lukewarm water
- 2 cups raw almonds
- any additional add-ins (salt, dates, vanilla, etc.)
Place almonds in a medium bowl and fill with water until about one inch above almonds. Cover with cling wrap and refrigerate at least 8 hours, overnight or a workday. When ready, drain almonds and rinse well. Fill the blender with 4 cups of lukewarm water and then roughly half the almonds.
If vanilla almond milk is desired, this is the time to add 2-4 pitted dates, 1/2 tsp. of salt and 1 tsp. vanilla extract. Blend on high for a minute or so. If reading directions isn't your thing and you fill the blender with all 8 cups of water at once and then the 2 cups of almonds, they'll fit fine. However, while blending away in almond milk bliss, a frothy mess will seep out from the top and all over your blender, counter, etc. and you will cry. And you'll have a huge mess to clean up. Just...don't do it okay? Do it in two batches. Trust me. I did this for real and it was awful.

Place nut milk bag in at least a 4 cup bowl. Pour the milk into the bag. Squeeze the bag at the top with one hand and gently, slowly squeeze the bag. I do this until it isn't bulbous anymore, then I work one had down, squeezing (imagine milking a cow) while the other stays put firmly holding the top of the bag. I do this until most of milk is out and then I squeeze all over the bag, sometimes I'll wring it lightly as well. Not all of the milk will squeeze out, that's okay. Switch hands if one gets tired. The whole squeezing bit should really take less than five minutes.
[gallery type="rectangular" ids="283,282,281,280"]
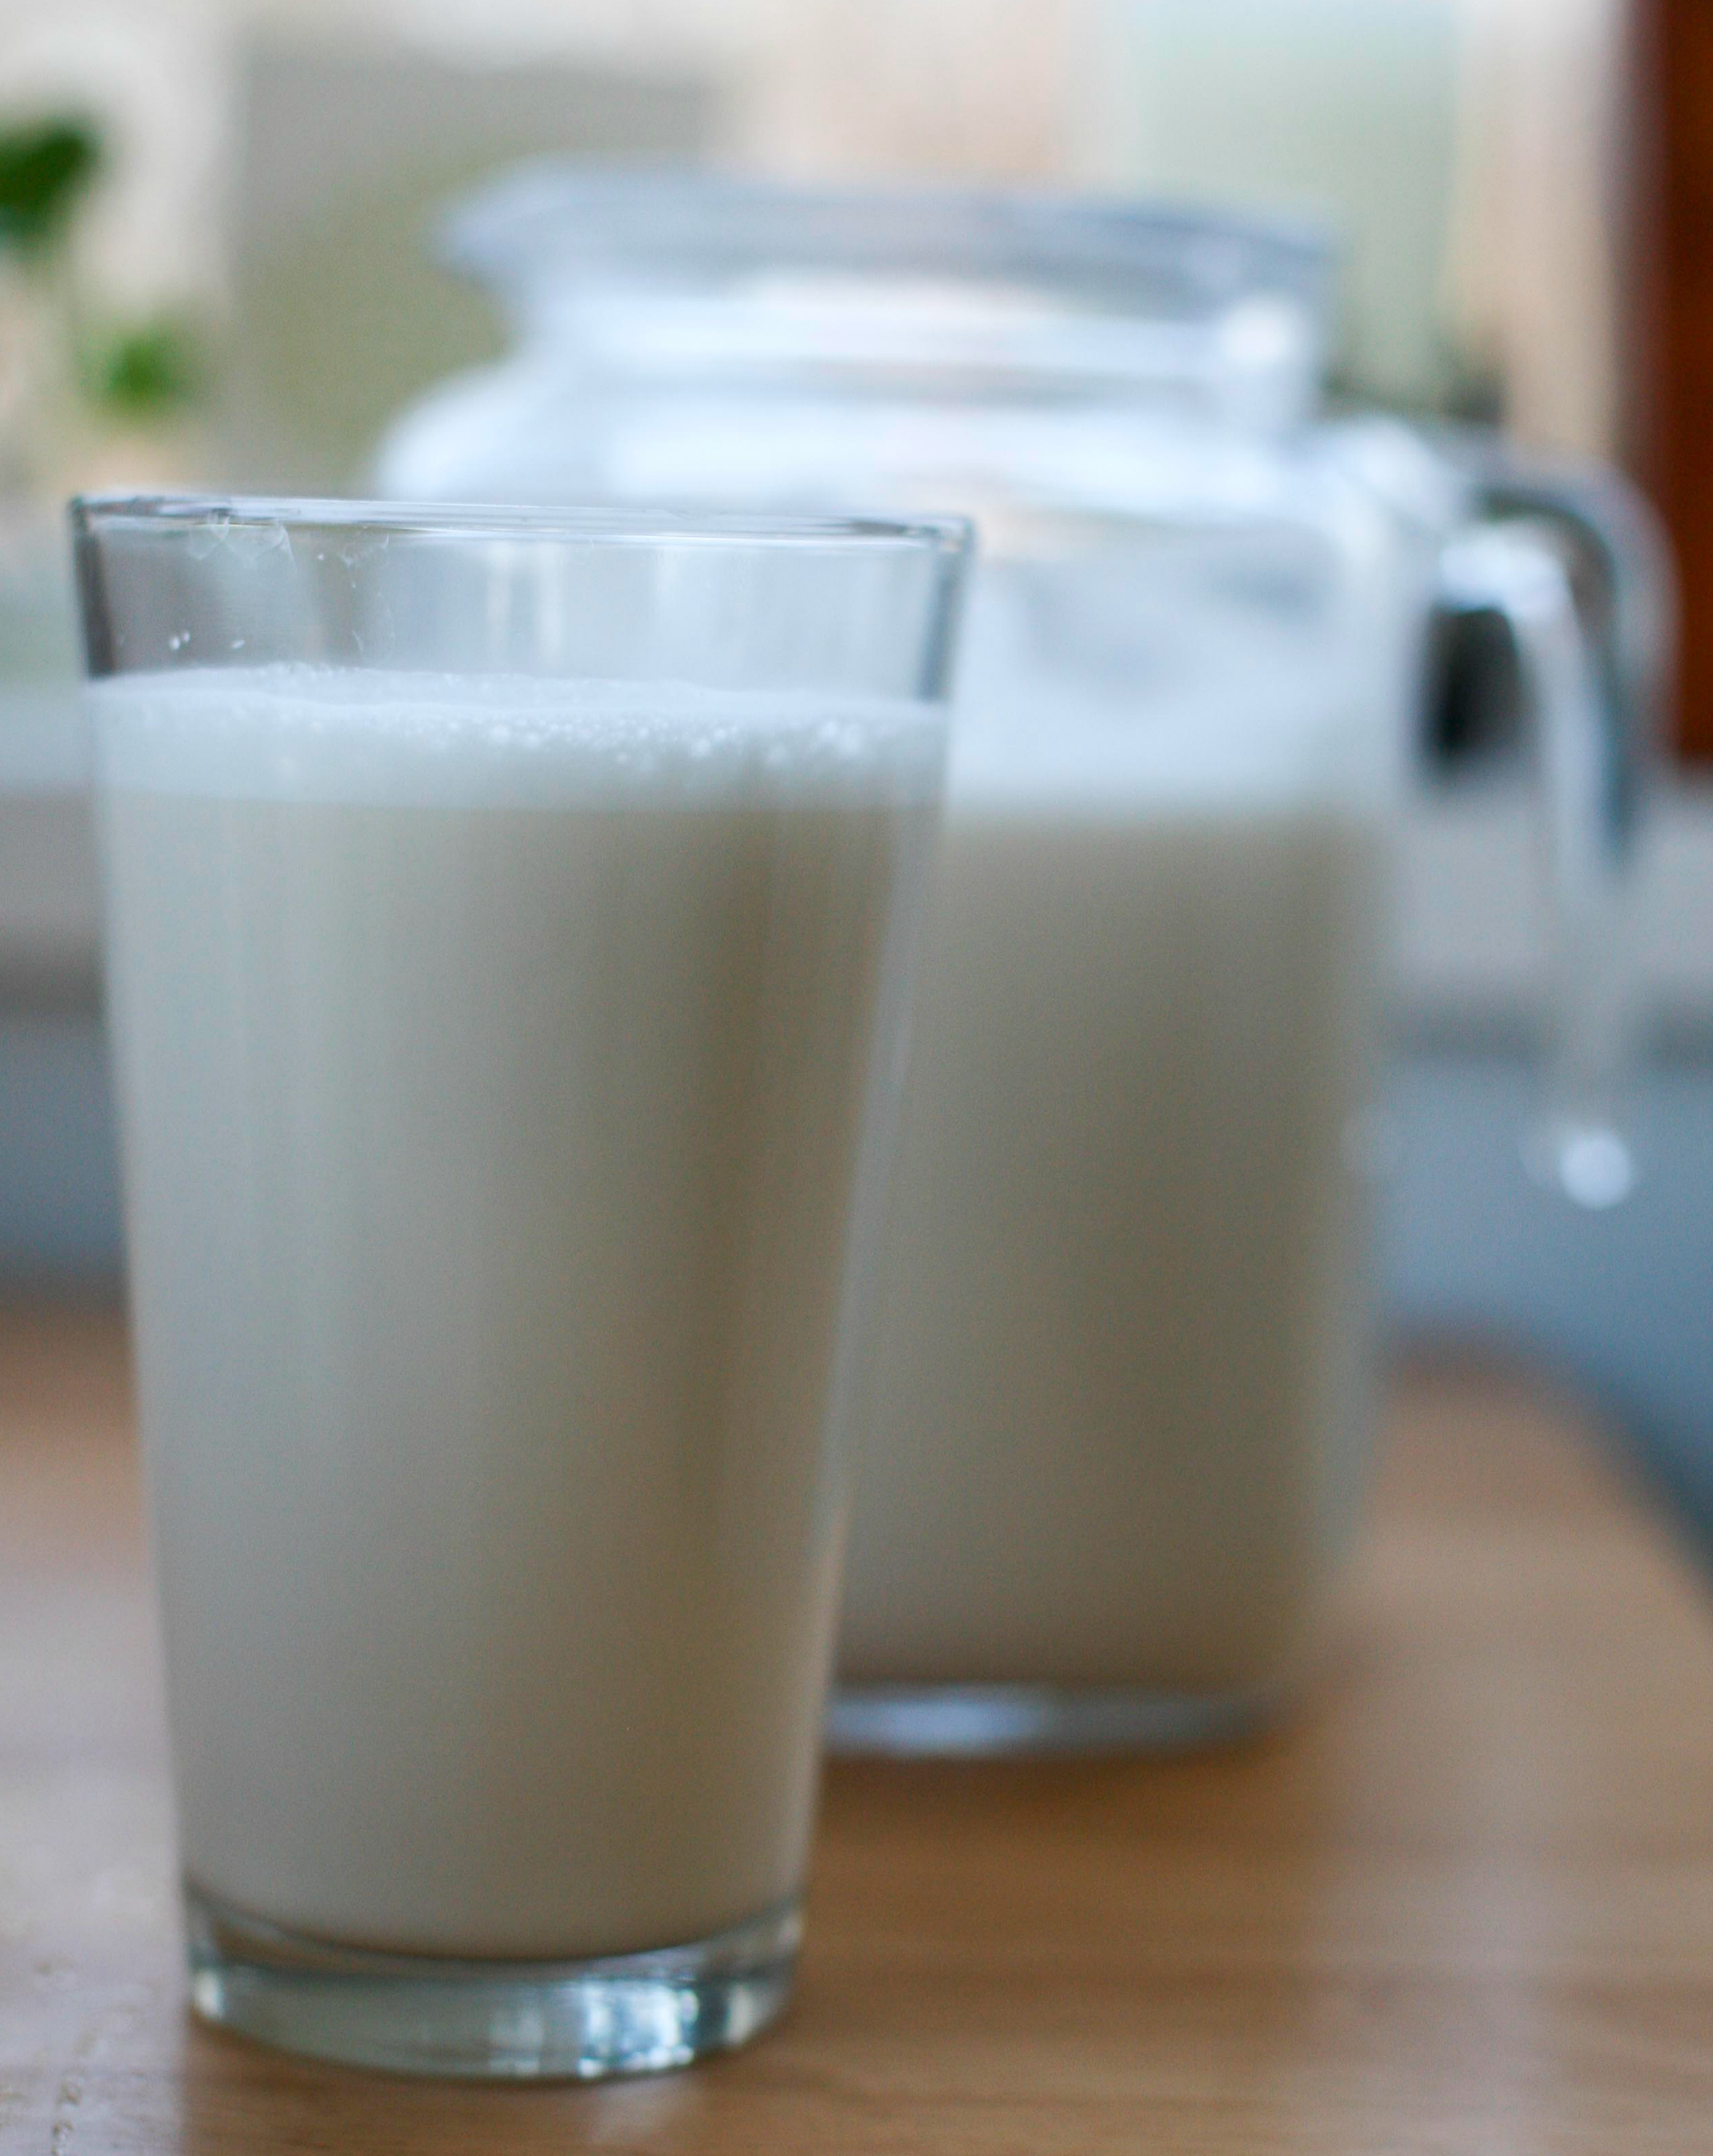
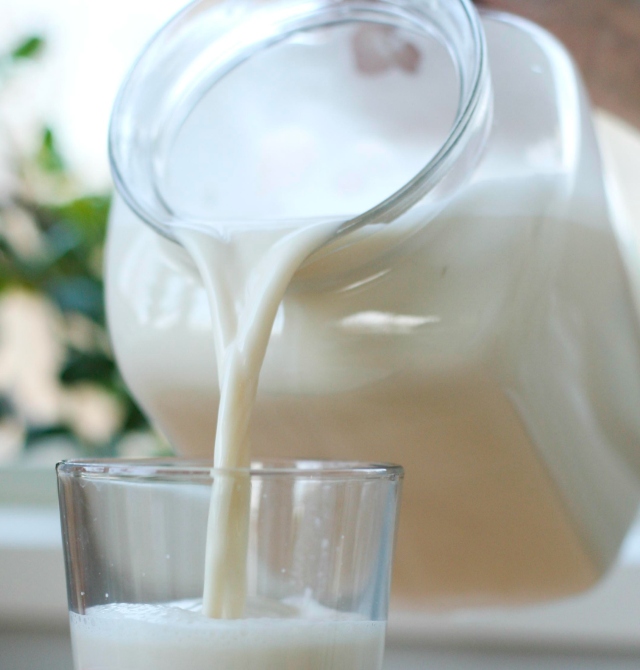
Okay, now you have 4 cups of almond milk! Woot woot! Pour milk into a clean jar, pitcher or jug for storing. It sounds obvious, but make sure it holds at least 8 cups. The tighter the seal, the better.
Regarding the almond pulp in the bag. Hold the end of the bag with one hand and the top closed with the other. Shake to loosen the pulp. Empty the pulp into a small ziplock bag or jar to place in freezer to use at a later date. Or if the pulp will be used soon, it should last in the fridge for just a couple of days. Don't you dare throw out that pulp. Don't do it. I'm watching. There are loads of recipes using almond pulp. I plan to make some in the next coming weeks!
Now, repeat the process with remaining water and almonds.
Omg. Homemade almond milk! Awesome. Give yourself a pat on the back. The milk will separate in the fridge after a little while. Do not be scared of this, it is normal. Just shake it up before pouring and you're good to go!
On the almonds
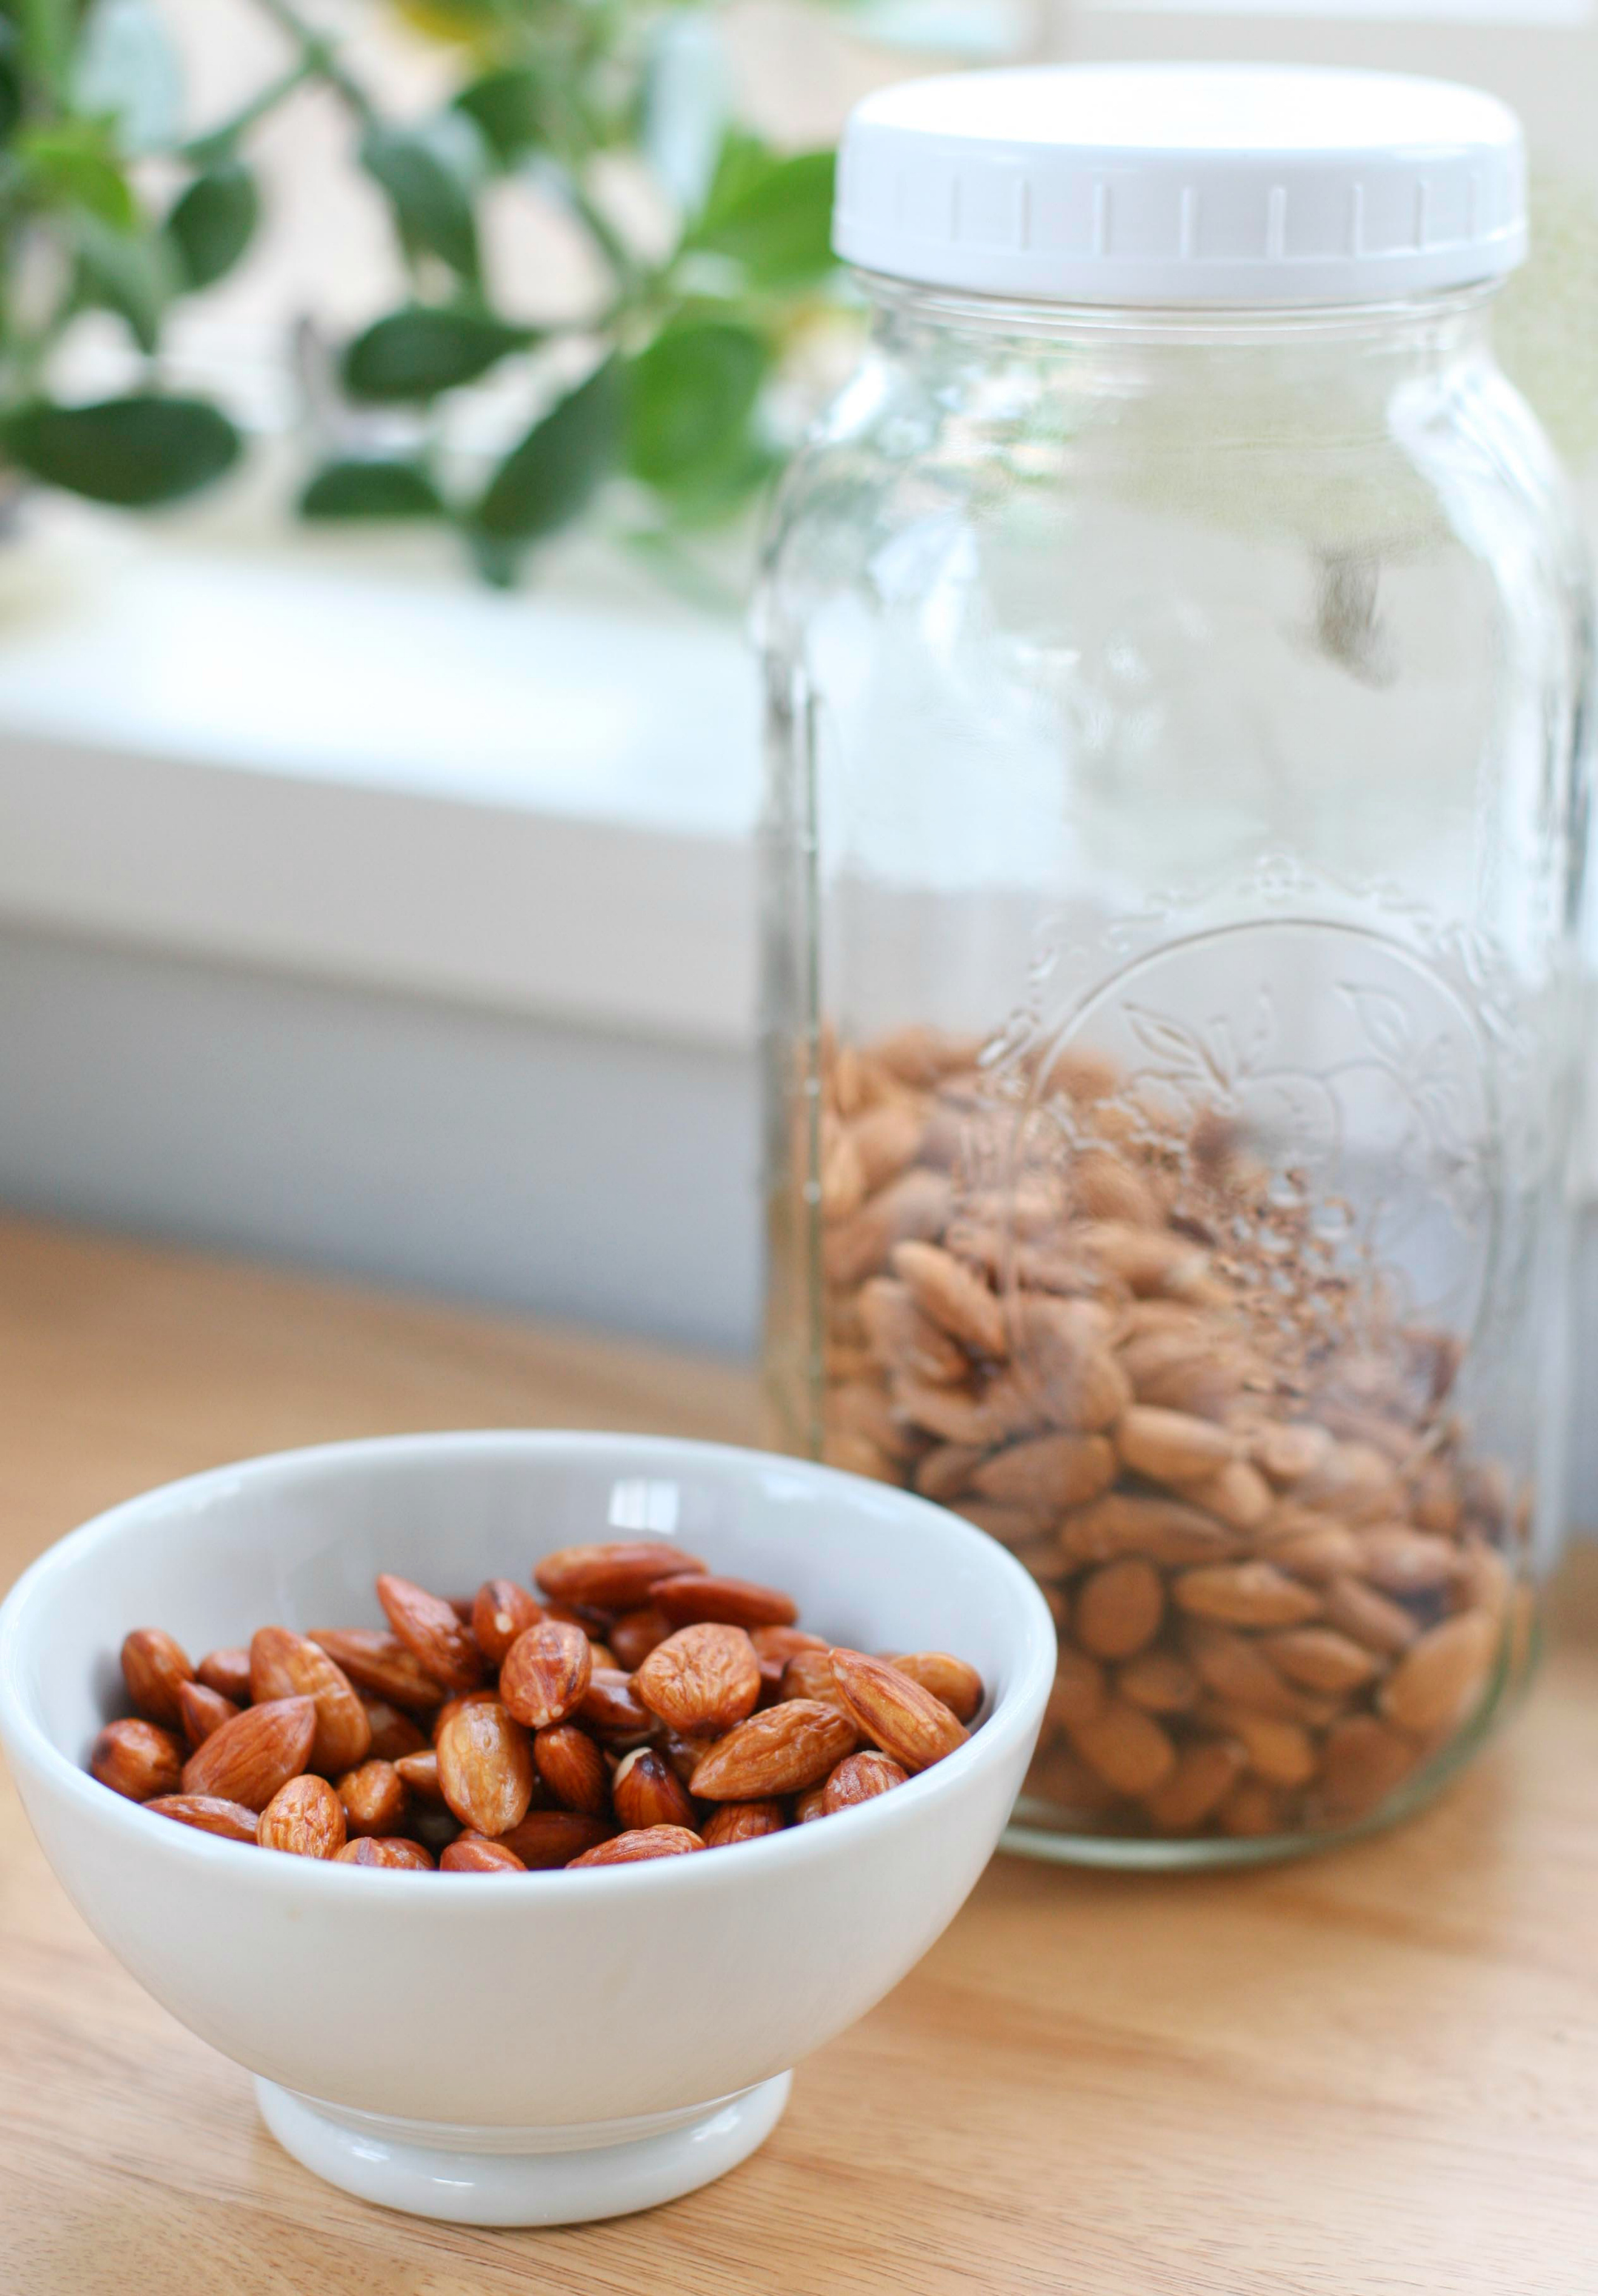
- - Raw almonds work best. They lend the most "milk". Roasted almonds will make a darker milk and the taste will be...(surprise!) roasty. I personally prefer the raw, hands down. Experiment to find out what you like. In the pictures I happened to use half raw and half roasted almond because I ran out of the raw!
On soaking
- - I find it easiest to soak the almonds before leaving for work and then when I return home, I'll make the milk in the evening. If I soak them overnight night, I don't get to them until the evening after work and that's a little too long. However, if you'll be home then it would work beautifully I'll sometimes do this on the weekends.
- - I soak the almonds in a pyrex 4 cup glass measuring cup, it's also what I use when squeezing out the almond milk. It just makes one less dish to bring out and wash!
On flavoring
- - I don't flavor mine in batches because I like to use the milk in recipes and the like. However, I will frequently add a splash of vanilla, and a dash of salt, sometimes even matcha to a tall glass and stir it up when I want vanilla milk. Delicious!
On the bag
- - I did have to get my bag online. It's Alaska, what else am I going to do? I found mine here and I think it does a fine job. Apparently...I had been using it inside out for quite some time. Only a week ago did I realize the seam goes on the outside of the bag! Hah! So, now you know.
On squeezing
- - Don't pour cold-ass water in the blender. I know it's the logical thing to do, but, your hands will freeze when milking. I did this and it was horrible. Also, when I first starting making homemade almond milk I got super frustrated because the milking part was taking a lifetime, and I couldn't get ev.ry.drop.of.milk.out, and I felt like maybe I was damaging the bag. It took me a few times to realize that I was never going to get all the milk out and that was okay. I am now at peace with the squeezing bit and it doesn't take nearly as long. I was probably averaging like 2 minutes of squeezing per drop!
- - Find what works well for you in terms of milking. It takes a few times to get the hang of it. I find it surprisingly soothing now...almost like therapy. Really!
On storing
- -I purchased a hermetic refrigerator jug for storing my almond milk and I think it's definitely worth it. Hermetic just means it's airtight, so it will extend the life of the almond milk. Mine usually lasts about a week or just under. It will smell off when it's gone bad and it's only happened to me once. I was very surprised and terribly sad and I had to dump it out.
On cleaning
- -Clean that shit out ASAP. I'm not even joking. You will regret it, I'm warning you. The bag's easy enough to clean, simply turn it inside out and rinse well, then hang to dry, that's it.
 Now go make some sweet, sweet homemade almond milk. People will think you're badass. And you are.