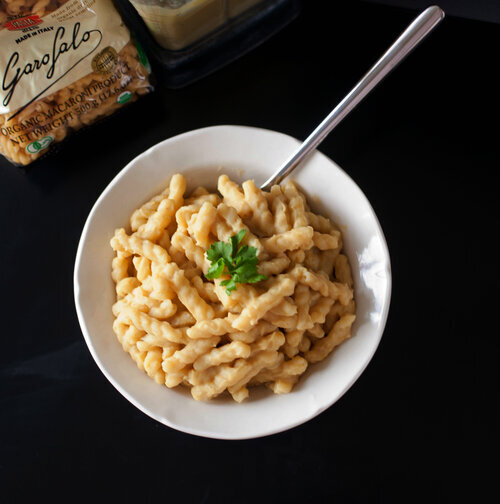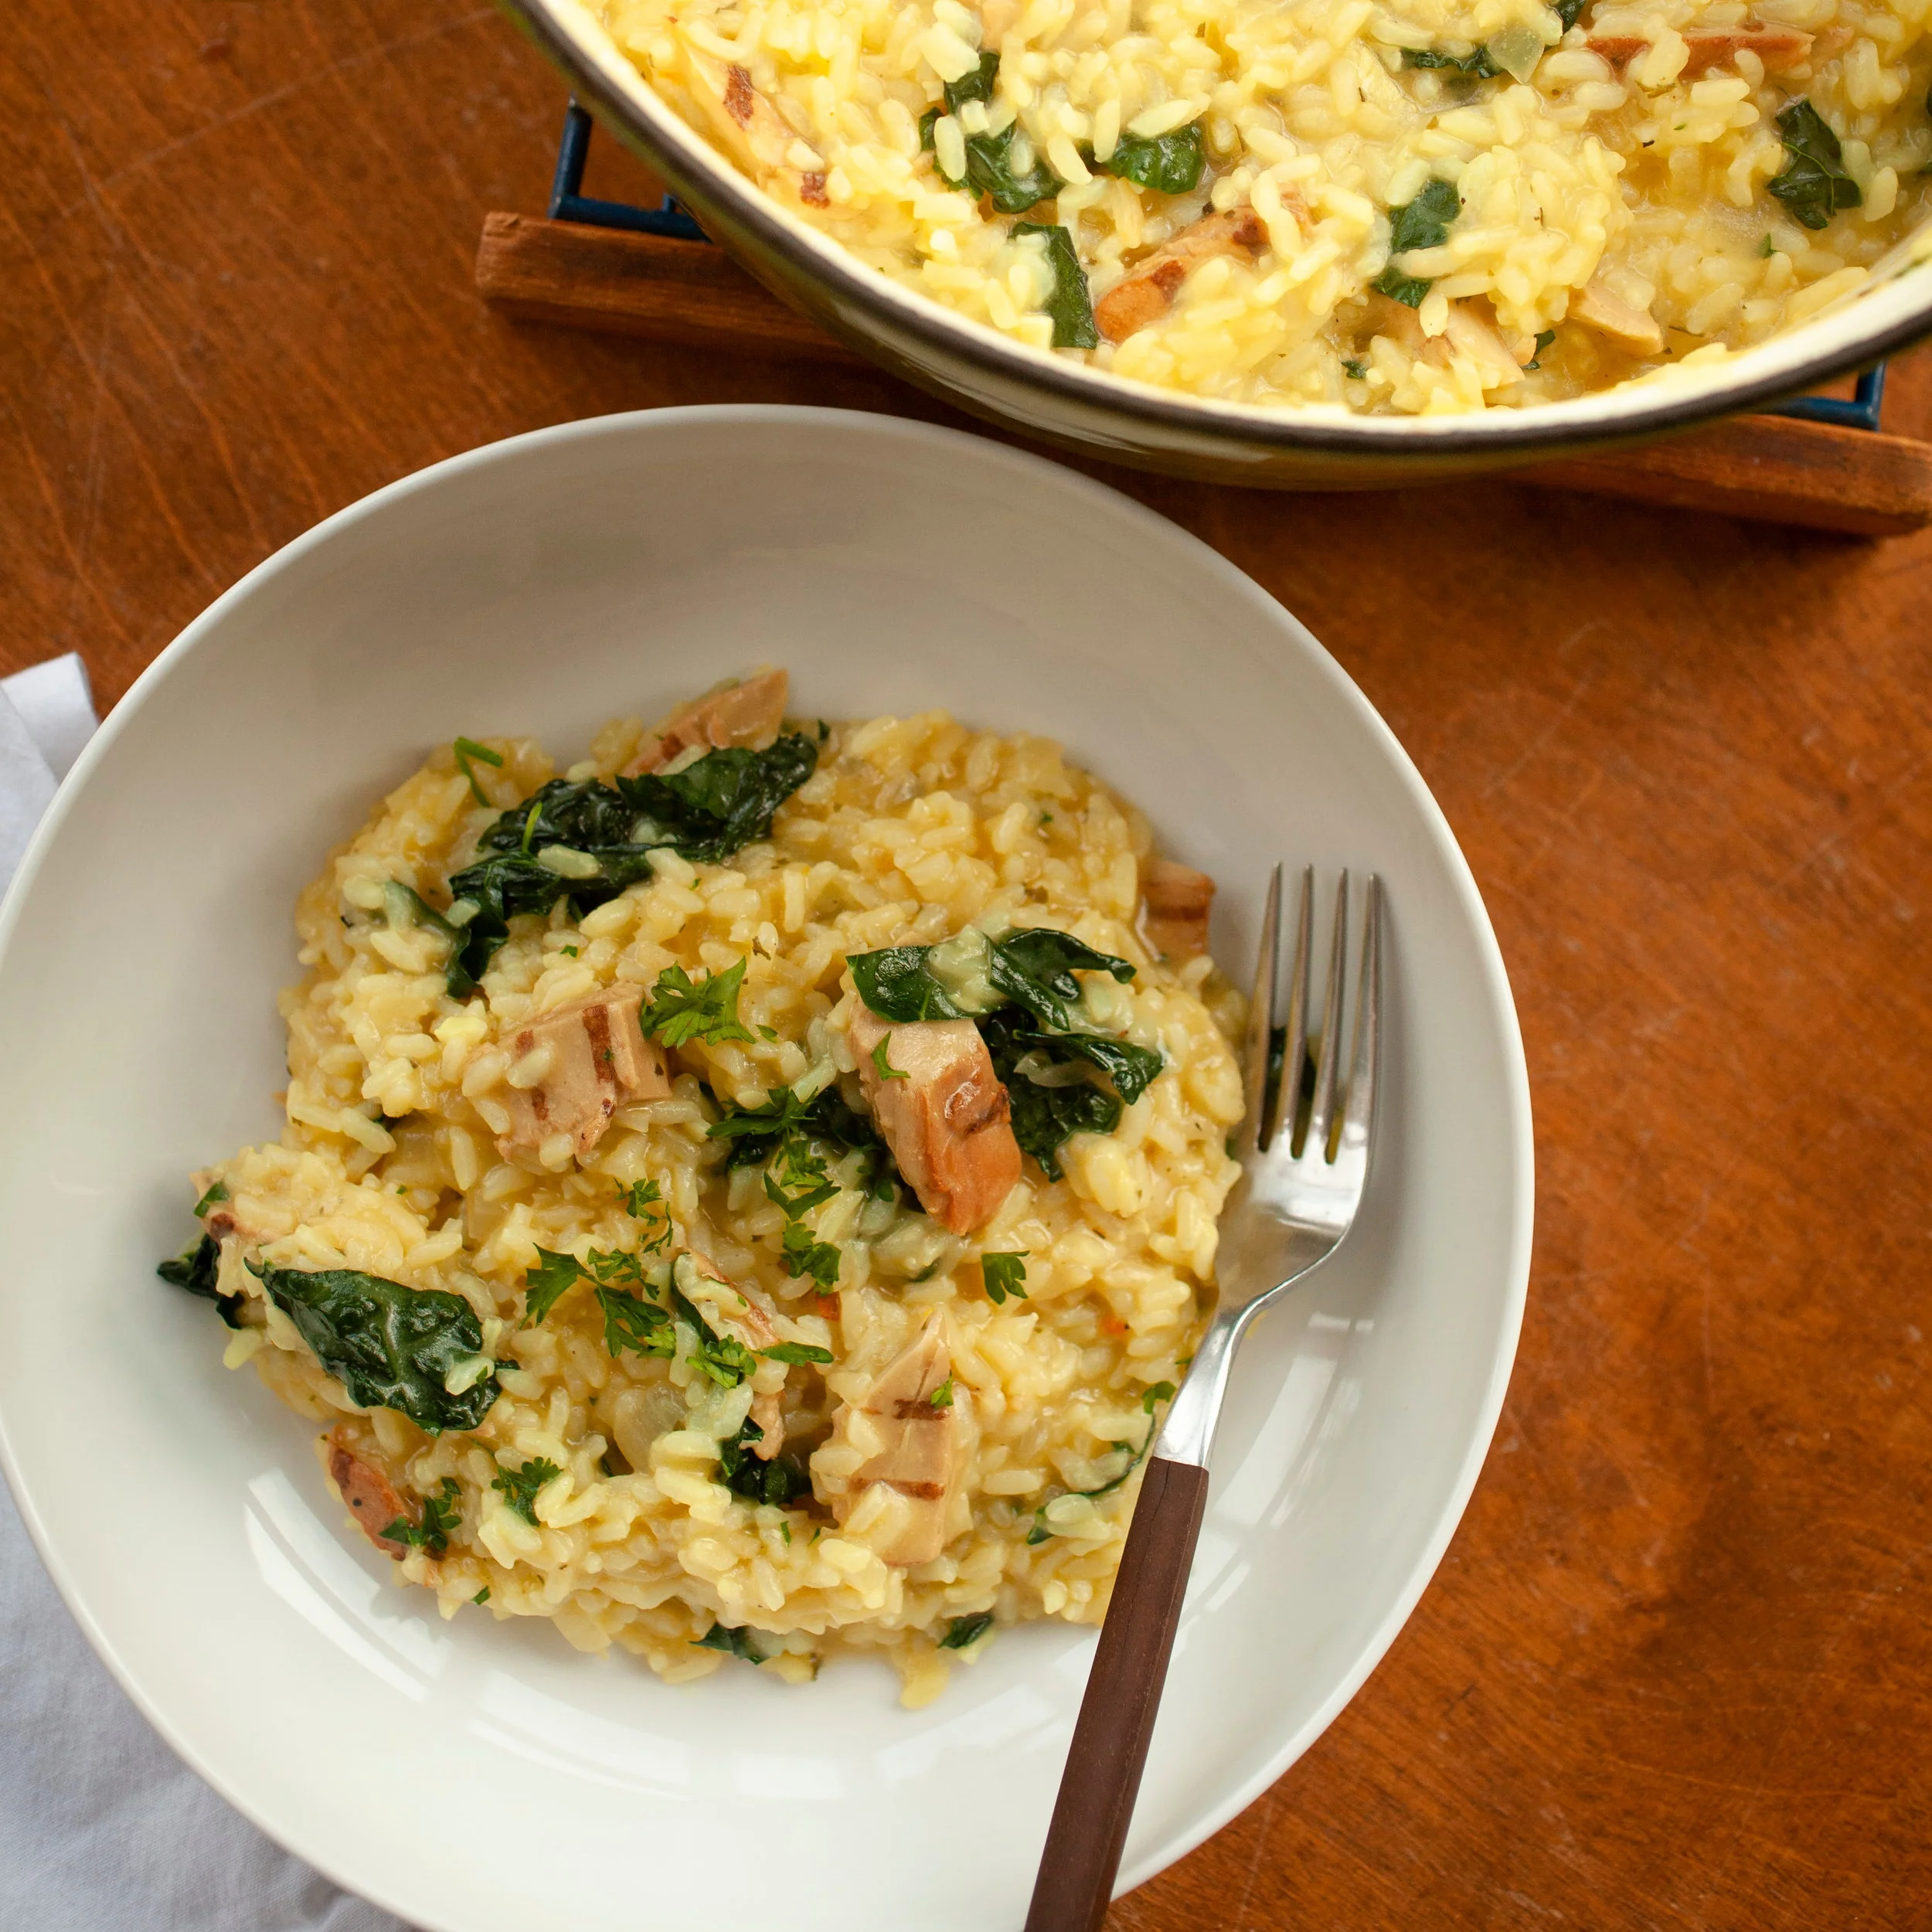
I’ve made a lot of vegan mac and cheese. All kinds. If you can think it, I’ve probably made it: some good, some bad but this one is my absolute favorite. It also happens to be exceptionally easy. A staple in our house, I hope it will become one in your house as well. This vegan version is oil-free and oh so creamy and delicious.

Noticed some changes? Produce On Parade got a bit of a makeover! What do you think of it? I hope you like it; we felt we needed a bit more of a modern feel. Something clean and shiny, eh. If you have any comments please let me know through the brand new contact page at the top right on the screen. I'd love to hear what you're thinking.
Anywho, what I am thinking is... comfort food. A teething Oliver is getting up every two hours to nurse #whatdidwedo and then with me working full-time, this is one dead momma. I literally ran into a wall today, in front of a patient. That's what three intermittent hours of sleep get you. I need food that is fast and filling and yummy. Last night I was really craving mac and cheese, so we whipped this up in no time. I thought it was about time I shared this recipe. It's always the staples that I have yet to share for some reason.
Not only is this dish killer but it happens to be the only vegan mac and cheese recipe that is Todd approved. He doesn't like the sweet potato or butternut squash mac and cheeses. Nope, this is the only one. Oh well, makes my life easier!

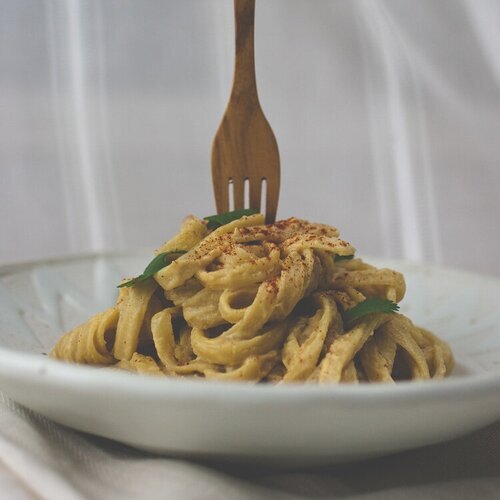
Creamy Vegan Mac and Cheese

By Katie Henry - Produce On Parade
I’ve made a lot of vegan mac and cheese. All kinds. If you can think it, I’ve probably made it: some good, some bad but this one is my absolute favorite. It also happens to be exceptionally easy. A staple in our house, I hope it will become one in your house as well. This vegan version is oil-free and oh so creamy and delicious. Inspired by BuzzFeed *A high powered blender works best. If you don’t have one just soak the cashews in boiling water for 20 minutes prior to use.
Ingredients
- 2 medium yellow potatoes, peeled and diced
- 1 large garlic clove, peeled
- 1 large carrot, peeled and sliced
- ¼ medium yellow onion, peeled and sliced
- ½ cup raw cashews*
- scant ¼ cup large-flake nutritional yeast
- 1 ½ tsp kosher salt
- 1 tsp garlic powder
- 1 tsp onion powder
- ¼ tsp ground turmeric
- dash of freshly ground black pepper
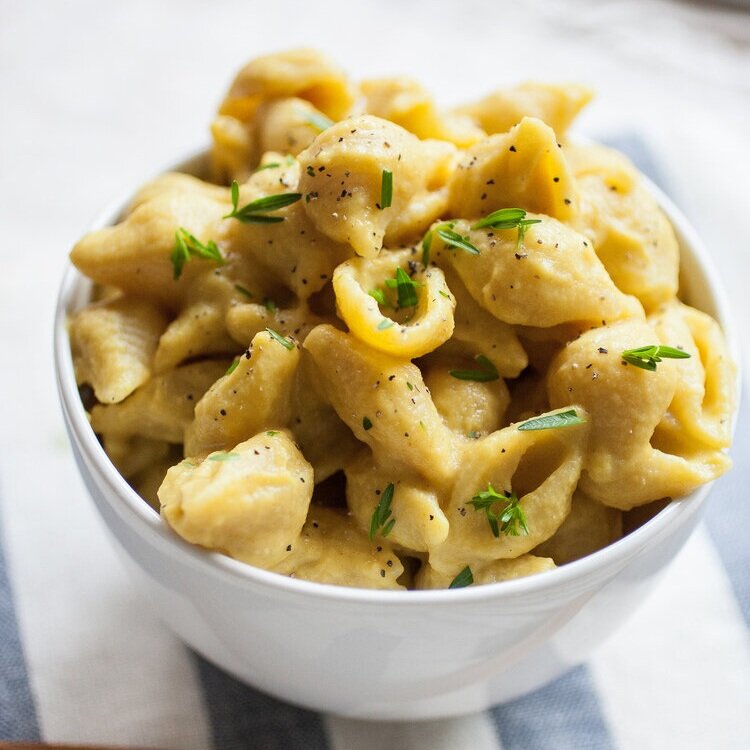
- 12 oz dry pasta shells
- Bring a medium pot of water to boil for the vegetables. Boil the potatoes and garlic clove for 2 minutes. Add the carrots and boil for 5 additional minutes. Add the onion and boil for 7 additional minutes.
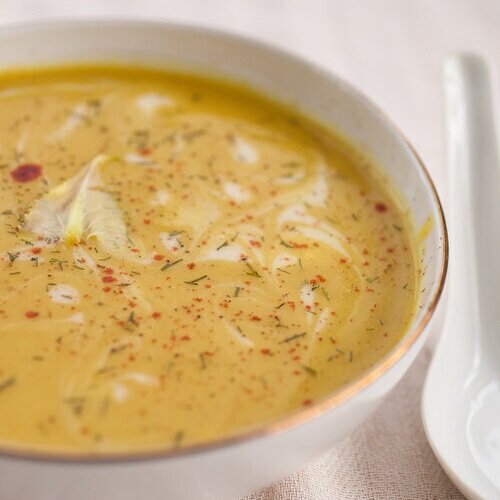
- While the vegetables are boiling, add the remaining ingredients except the pasta to a blender. Drain the veggies saving the water (1 ½ cups), add them to a blender along with the saved water; blend on high until smooth and creamy. It makes about 4 cups of sauce.
- Bring a large pot of salted water to boil for the pasta and cook according to the package. Drain and return to the pot. Stir 3 cups of the sauce into the cooked pasta, reserving 1 cup for stirring in later if all the mac and cheese won’t be all eaten immediately. Serve hot.
Prep time:
Cook time:
Total time:
Yield: 4 servings

Save Money!
I buy my nutritional yeast here where it’s only $9.55 per lb versus $13.99 per lb at our local grocery store, Fred Meyer.

More Mac and Cheese Recipe and Cauliflower Recipes