Gingerbread and scones marry together festively in this scrumptiously wonderful holiday breakfast or dessert! I’ve included the first method that results in a dark scone that has a robust gingerbread taste and the texture is more gingerbread than scone. The second method results in a more traditional scone with that great flaky texture and a subtler gingerbread flavor.

I hope everyone’s holiday season is going well. On the weekend during the wee hours we have with light, we’ve just been really enjoying our time skiing outside and all the beautiful snow. Balancing that of course with vegan hot cocoa, good books and company, and non-stop fires in the woodstove during the morning and evenings. Anyway you slice it there’s a ton of Alaska hygge happening in our home! It be cozy as heck. Happy Yuletide my dears! Do you have any special holiday traditions you’d like to share? Todd and I are trying to plan some for Oliver! To start with, baking. Lots of yummy baking!
These beautiful scones involved much recipe testing but I don’t think anyone was complaining around our house! At first, I decided that they had too much molasses and were not ‘scone-like’ enough. Settling on the second version I created which had less molasses and were more like a traditional scone, I first prefered the these but then began to actually prefer the more gingerbready ones! So, awash in uncertainty, I decided to include both recipes and let you choose which to make. #twosconerecipesarebetterthanone
Gingerbread scones are the absolute perfect thing to make this holiday season. I bet none of your guests will have ever had one AND they are great for dessert or breakfast not to mention they are oh so quick and easy and utterly delicious. The best gift of all; you’ll have more time to spend with your loved ones… while munching on gingerbread scones.

Glazed Gingerbread Scones - Two Ways

By Kathleen Henry at Produce On Parade
Gingerbread and scones marry together festively in this scrumptiously wonderful holiday breakfast or dessert! I’ve included the first method that results in a dark scone that has a robust gingerbread taste and the texture is more gingerbread than scone. The second method results in a more traditional scone with that great flaky texture and a subtler gingerbread flavor, see that method at the *.
Ingredients
- 2 cups (10 oz) all-purpose flour
- 3 tbsp vegan granulated sugar
- 1 tbsp baking powder
- 5 tbsp refined coconut oil, room-temperature
- ⅓ cup molasses
- ¼ cup + 3 tbsp vegan soy creamer
- ¼ cup vegan powdered sugar
- 1 tbsp vegan soy creamer
- In a food processor, pulse together the flour through the baking powder. Pulse in the oil, 1 tbsp at a time, until it resembles coarse cornmeal with some larger pieces. Transfer to a large mixing bowl.
- Next, whisk together the ⅓ cup molasses and ¼ cup + 3 tbsp vegan soy creamer. Stir into the floured mixture until just combined. The dough should be slightly sticky; if it’s not stir in a little more creamer. *To have a less gingerbread flavor and more scone like texture, instead use 1 tbsp of molasses and ¾ cup of vegan soy creamer.
- Preheat the oven to 450 F. Line a baking sheet with parchment paper and place another baking sheet beneath the first one (this keeps the bottoms from browning).
- Transfer the dough to a floured workspace and pat into an 8-inch round. Cut into 8 wedges and arrange on the baking sheet 2 inches apart. Bake for 12-15 minutes, rotating the sheet halfway through, until the tops are just golden brown. Allow to cool on a cooling rack until fully cooled.
- Once the scones are completely cool, in a small bowl, whisk together the powdered sugar and 1 tbsp creamer until smooth; add more creamer if necessary to reach the right viscosity for drizzling. Drizzle over the scones and allow to rest until glaze has hardened. Share with loved ones.
Prep time:
Cook time:
Total time:
Yield: 8 scones (8 servings)


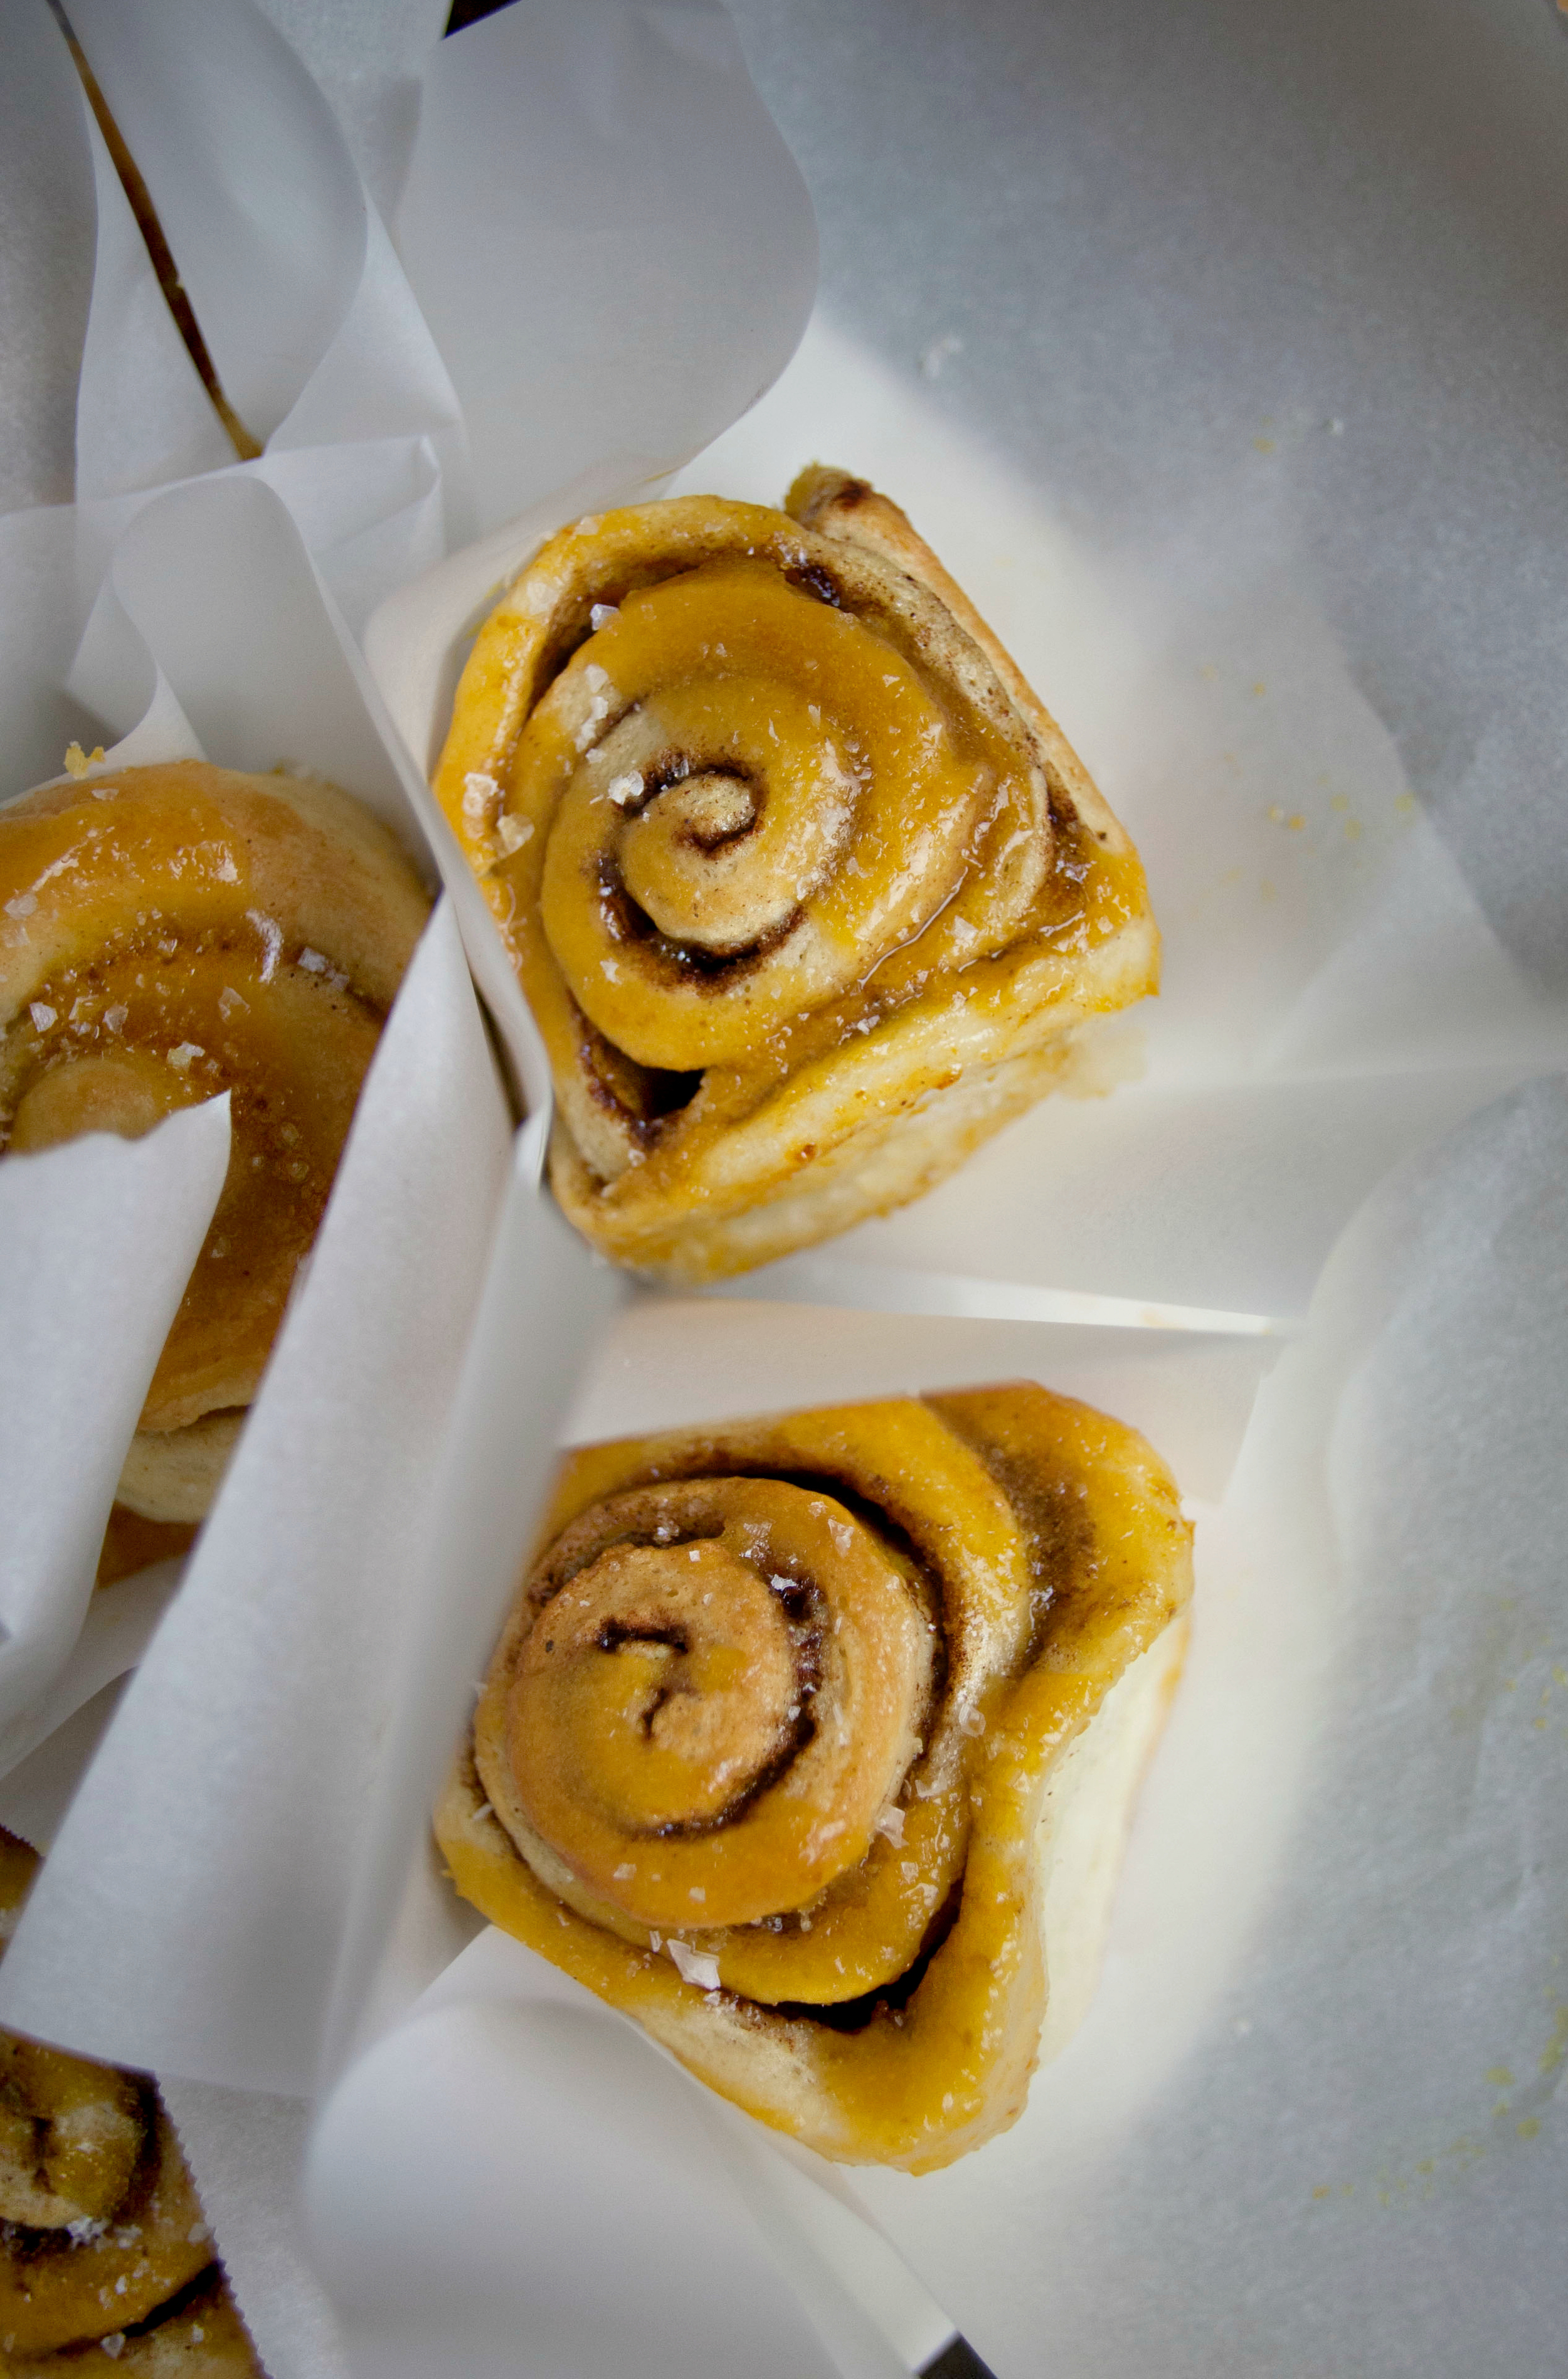 These easy rolls are layered with pumpkin pie spice instead of regular ol' cinnamon and the Autumnal (yea it's a word) icing is infused with pumpkin puree and topped with finishing salt. Oh so snobby! After Todd and I split one, I turned to him and said, "Well that was one of the dumbest things I've ever done." Next time I think I'll just make cookies or something...
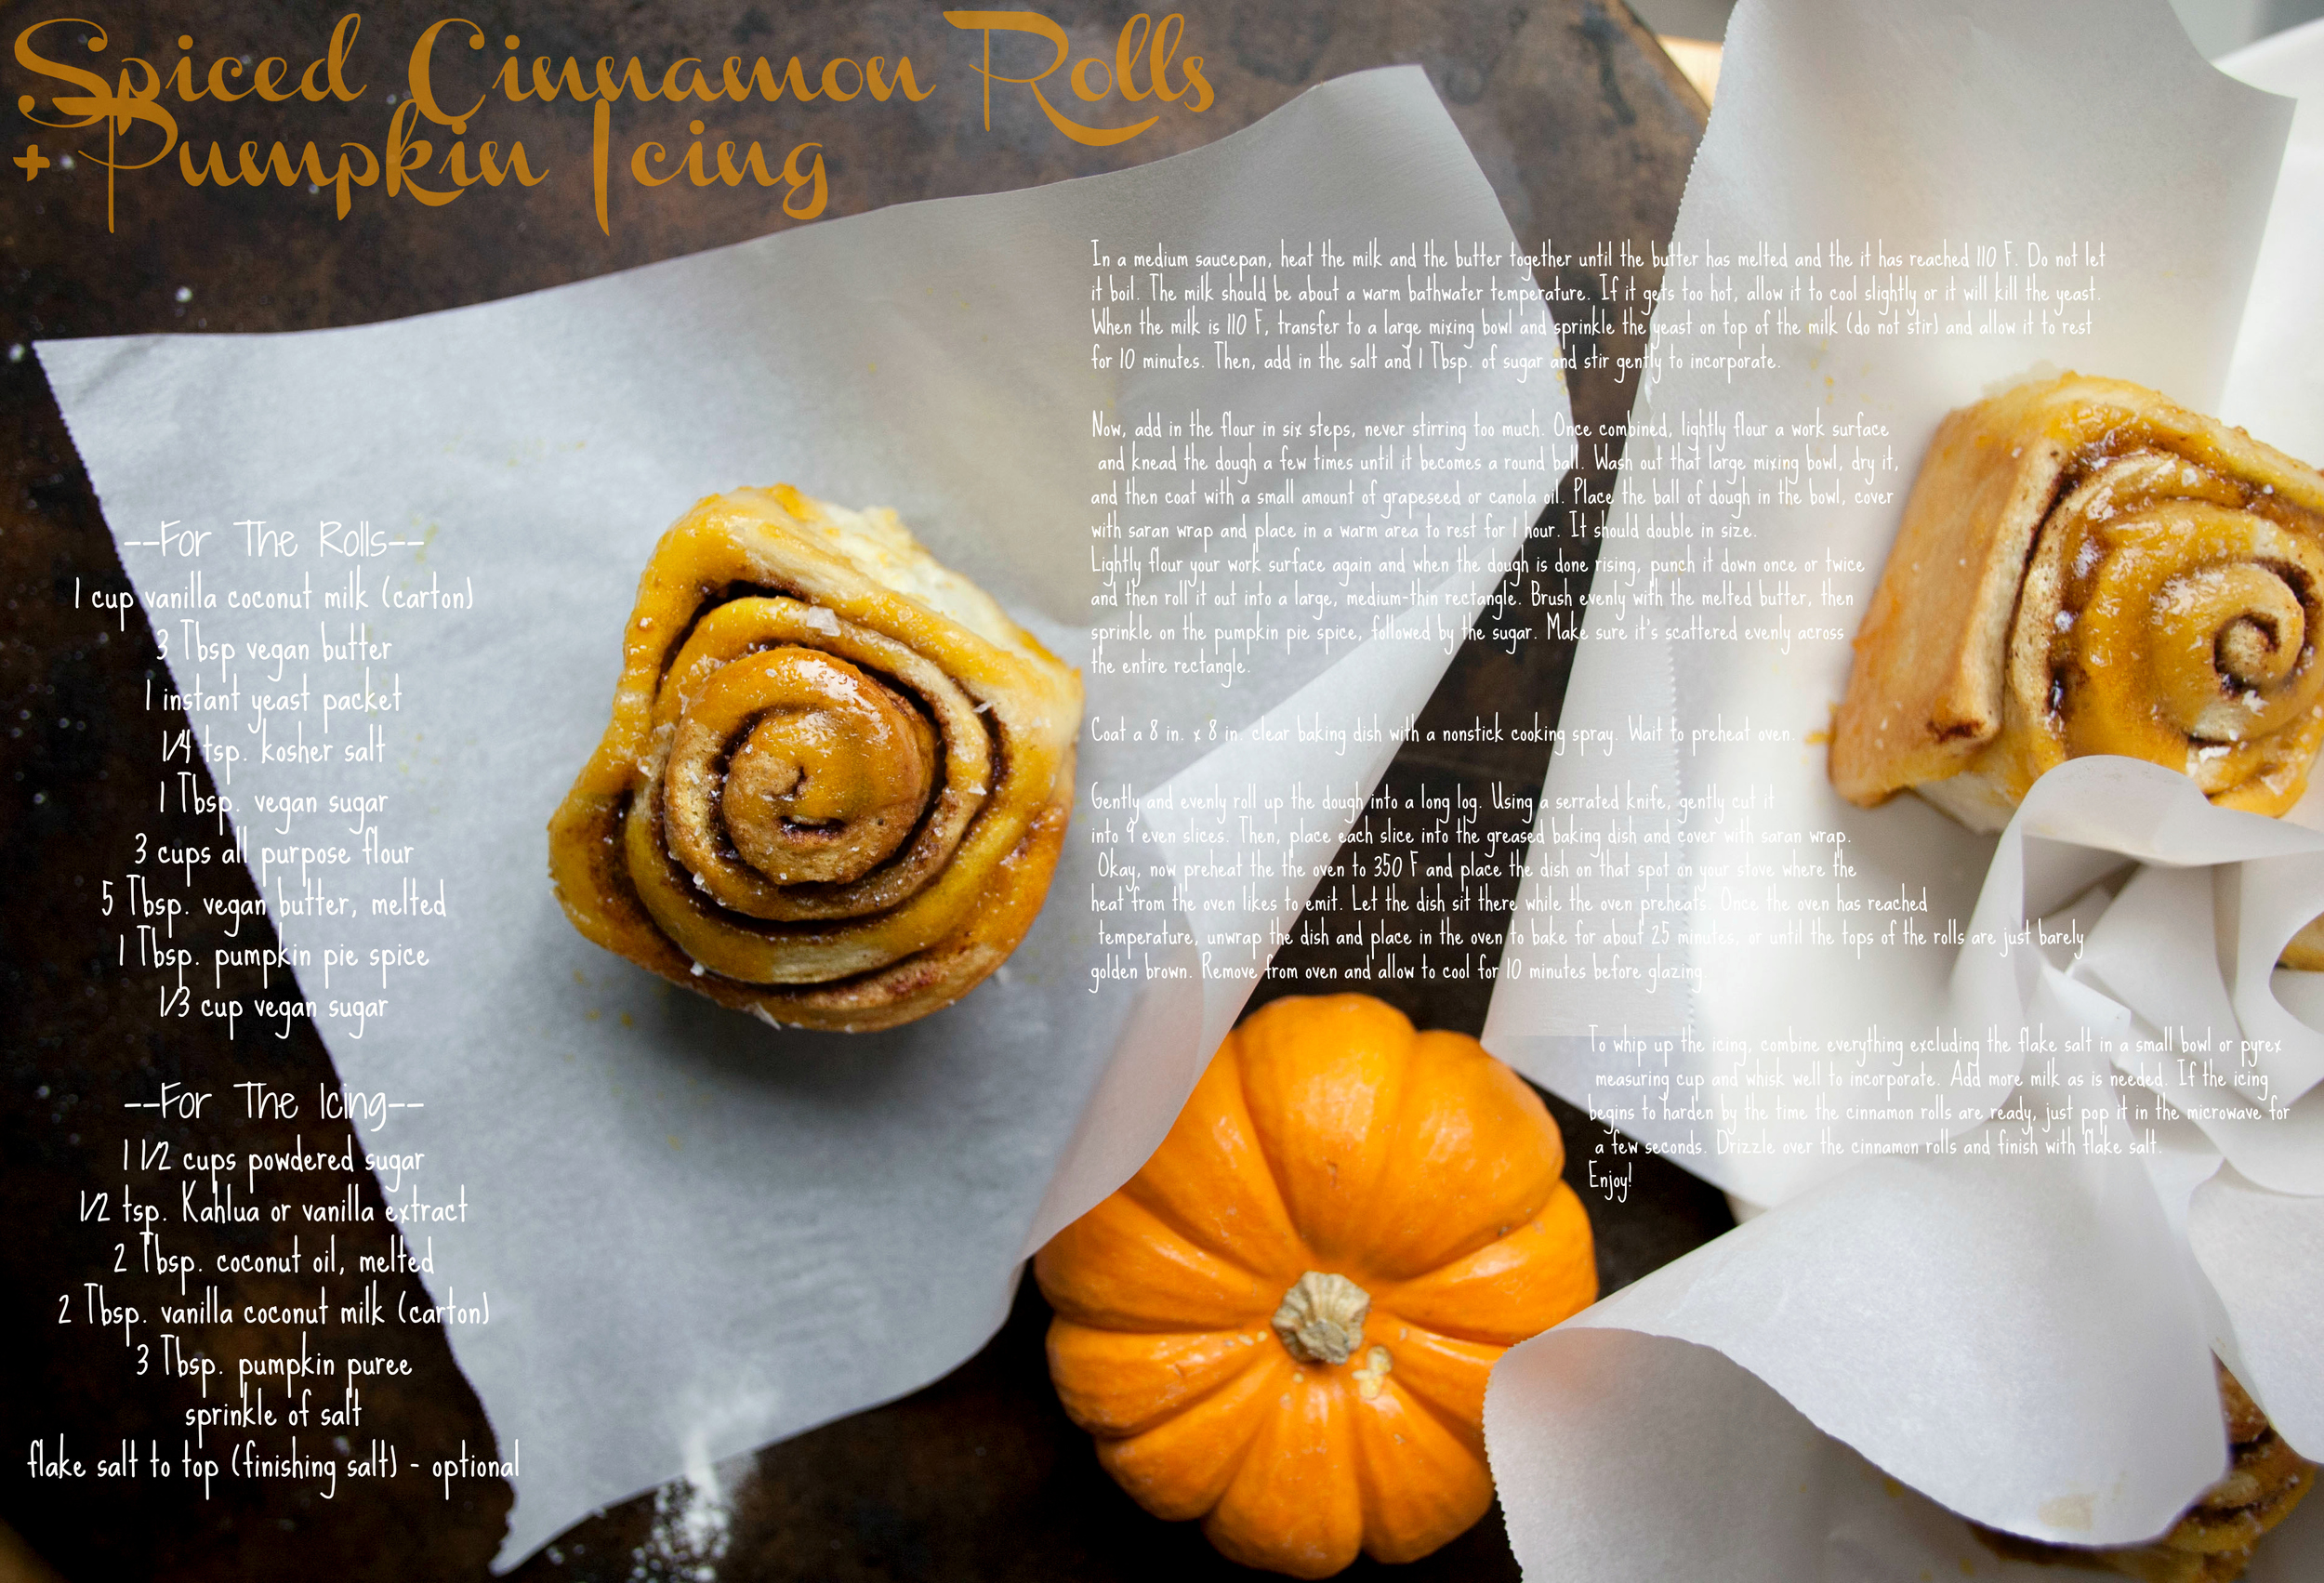
 Lightly flour your work surface again and when the dough is done rising, punch it down once or twice and then roll it out into a large, medium-thin rectangle.
 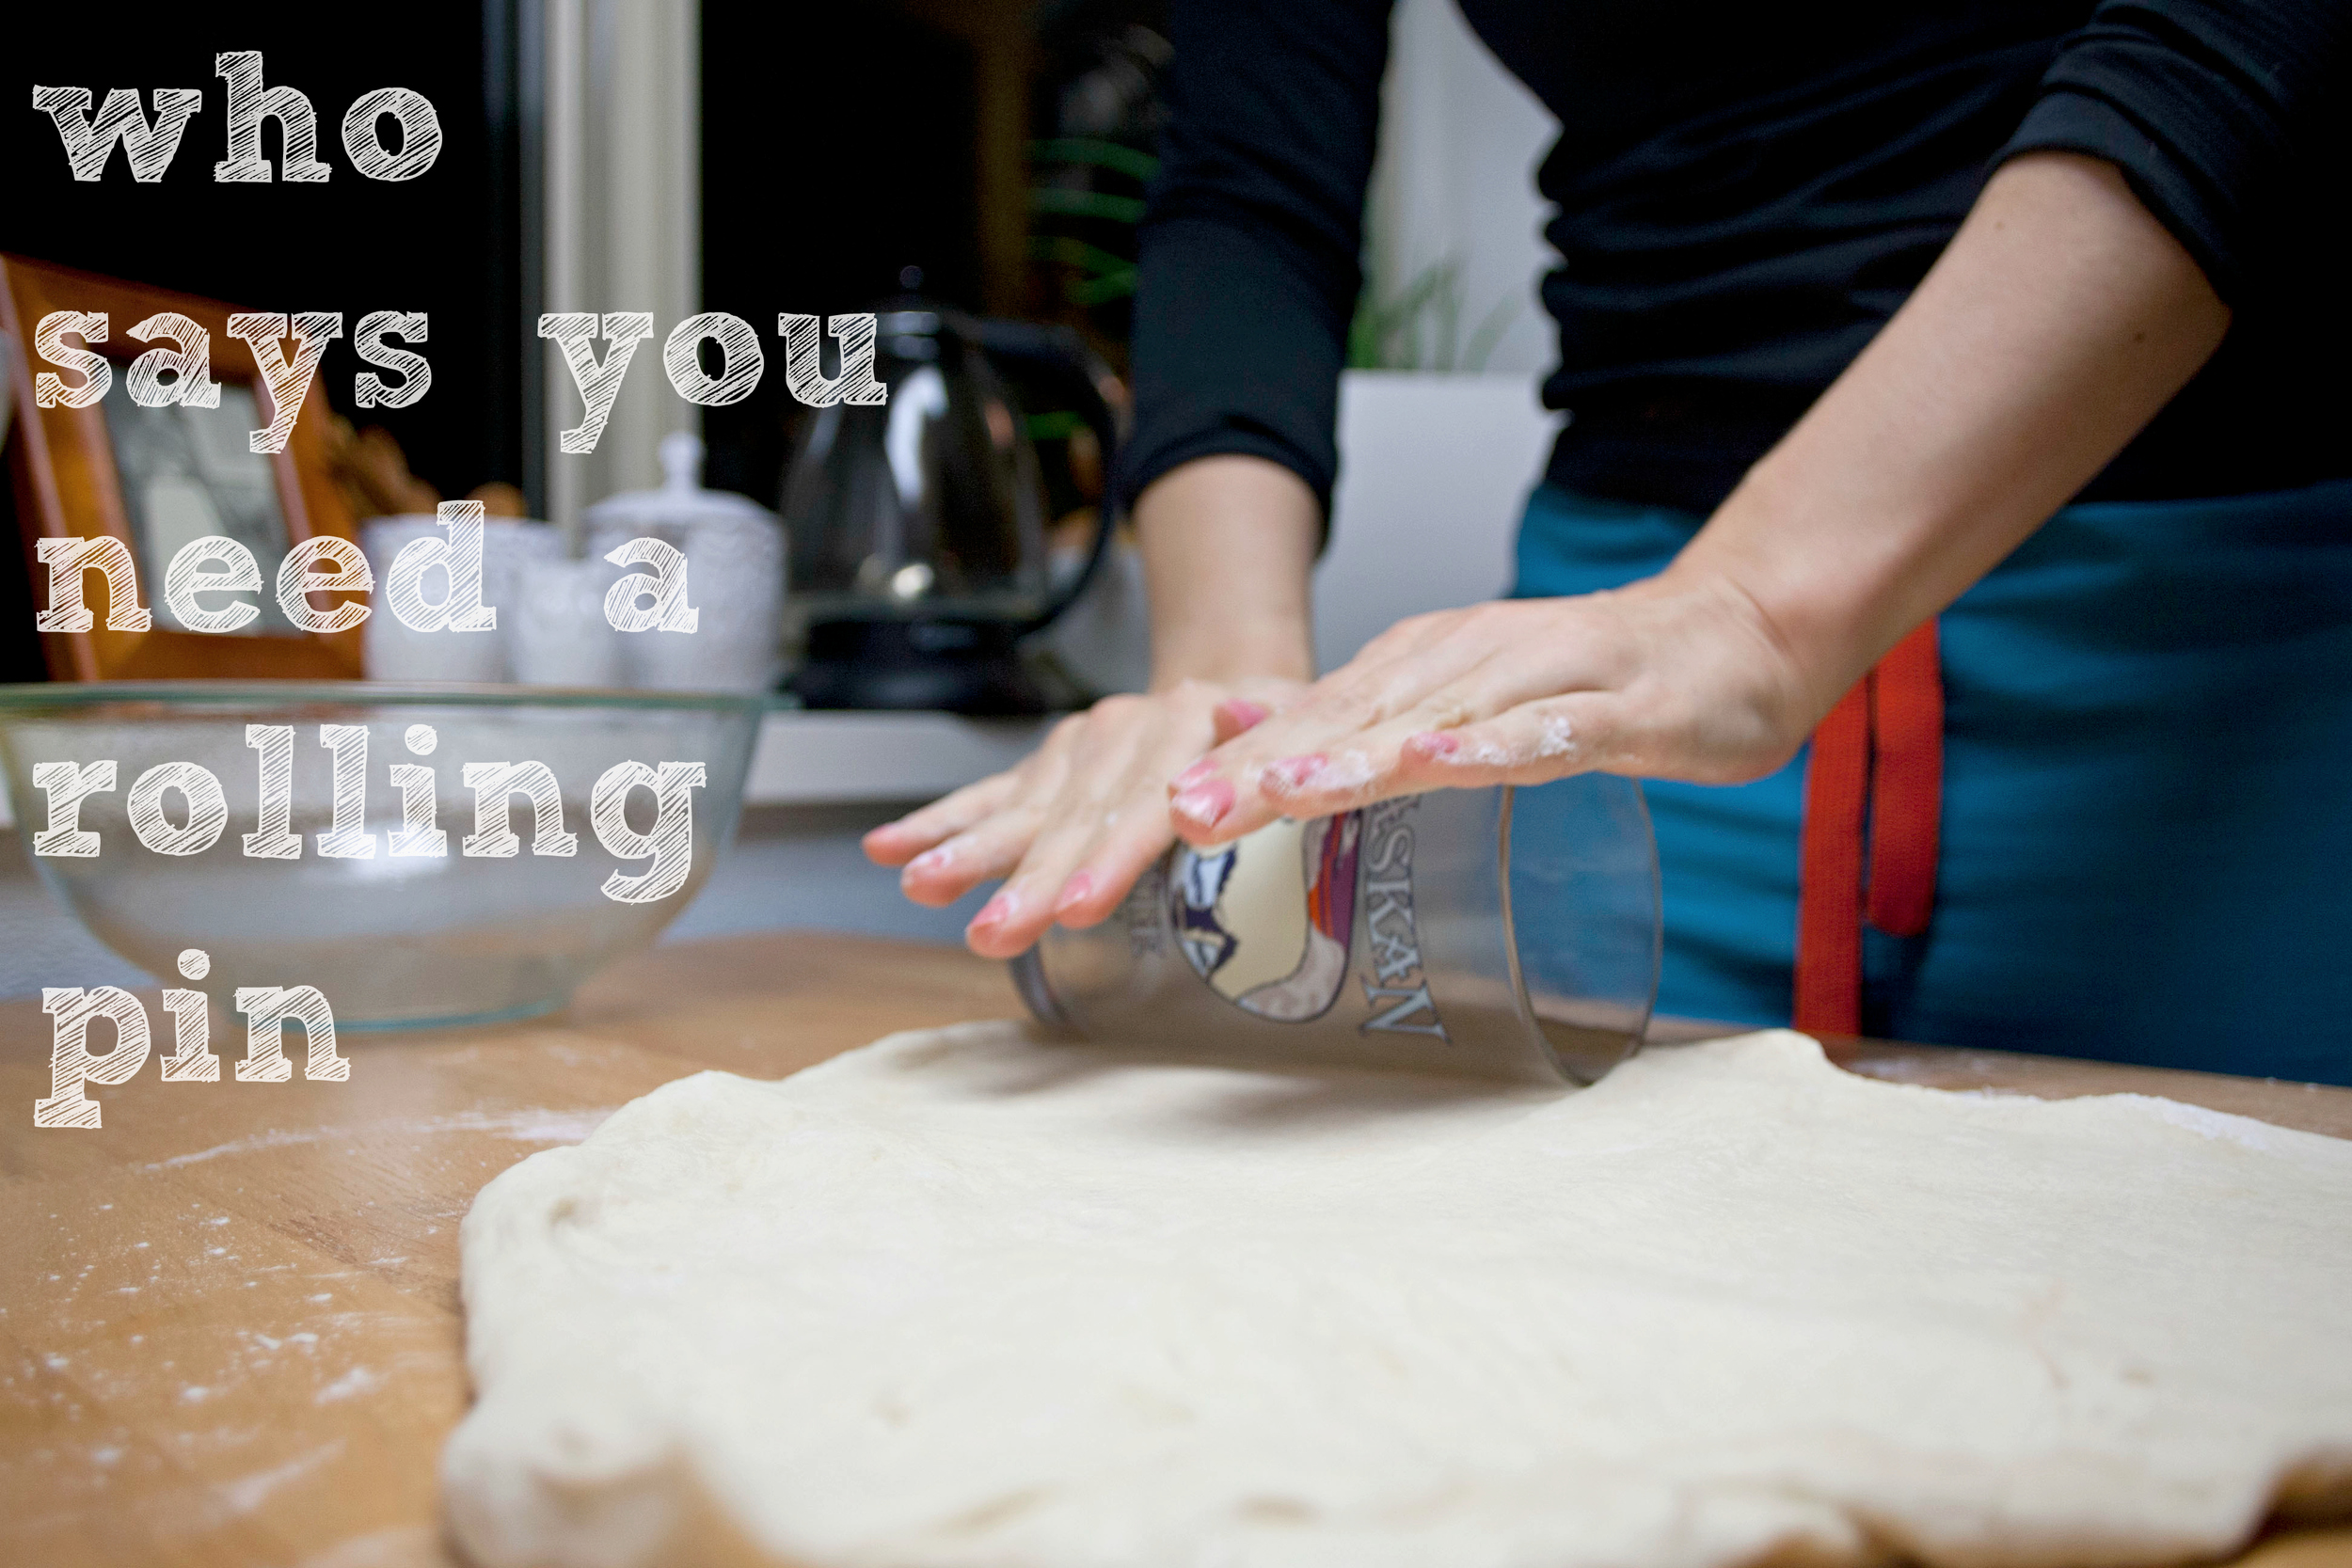 Brush evenly with the melted butter, then sprinkle on the pumpkin pie spice, followed by the sugar. Make sure it's scattered evenly across the entire rectangle.
 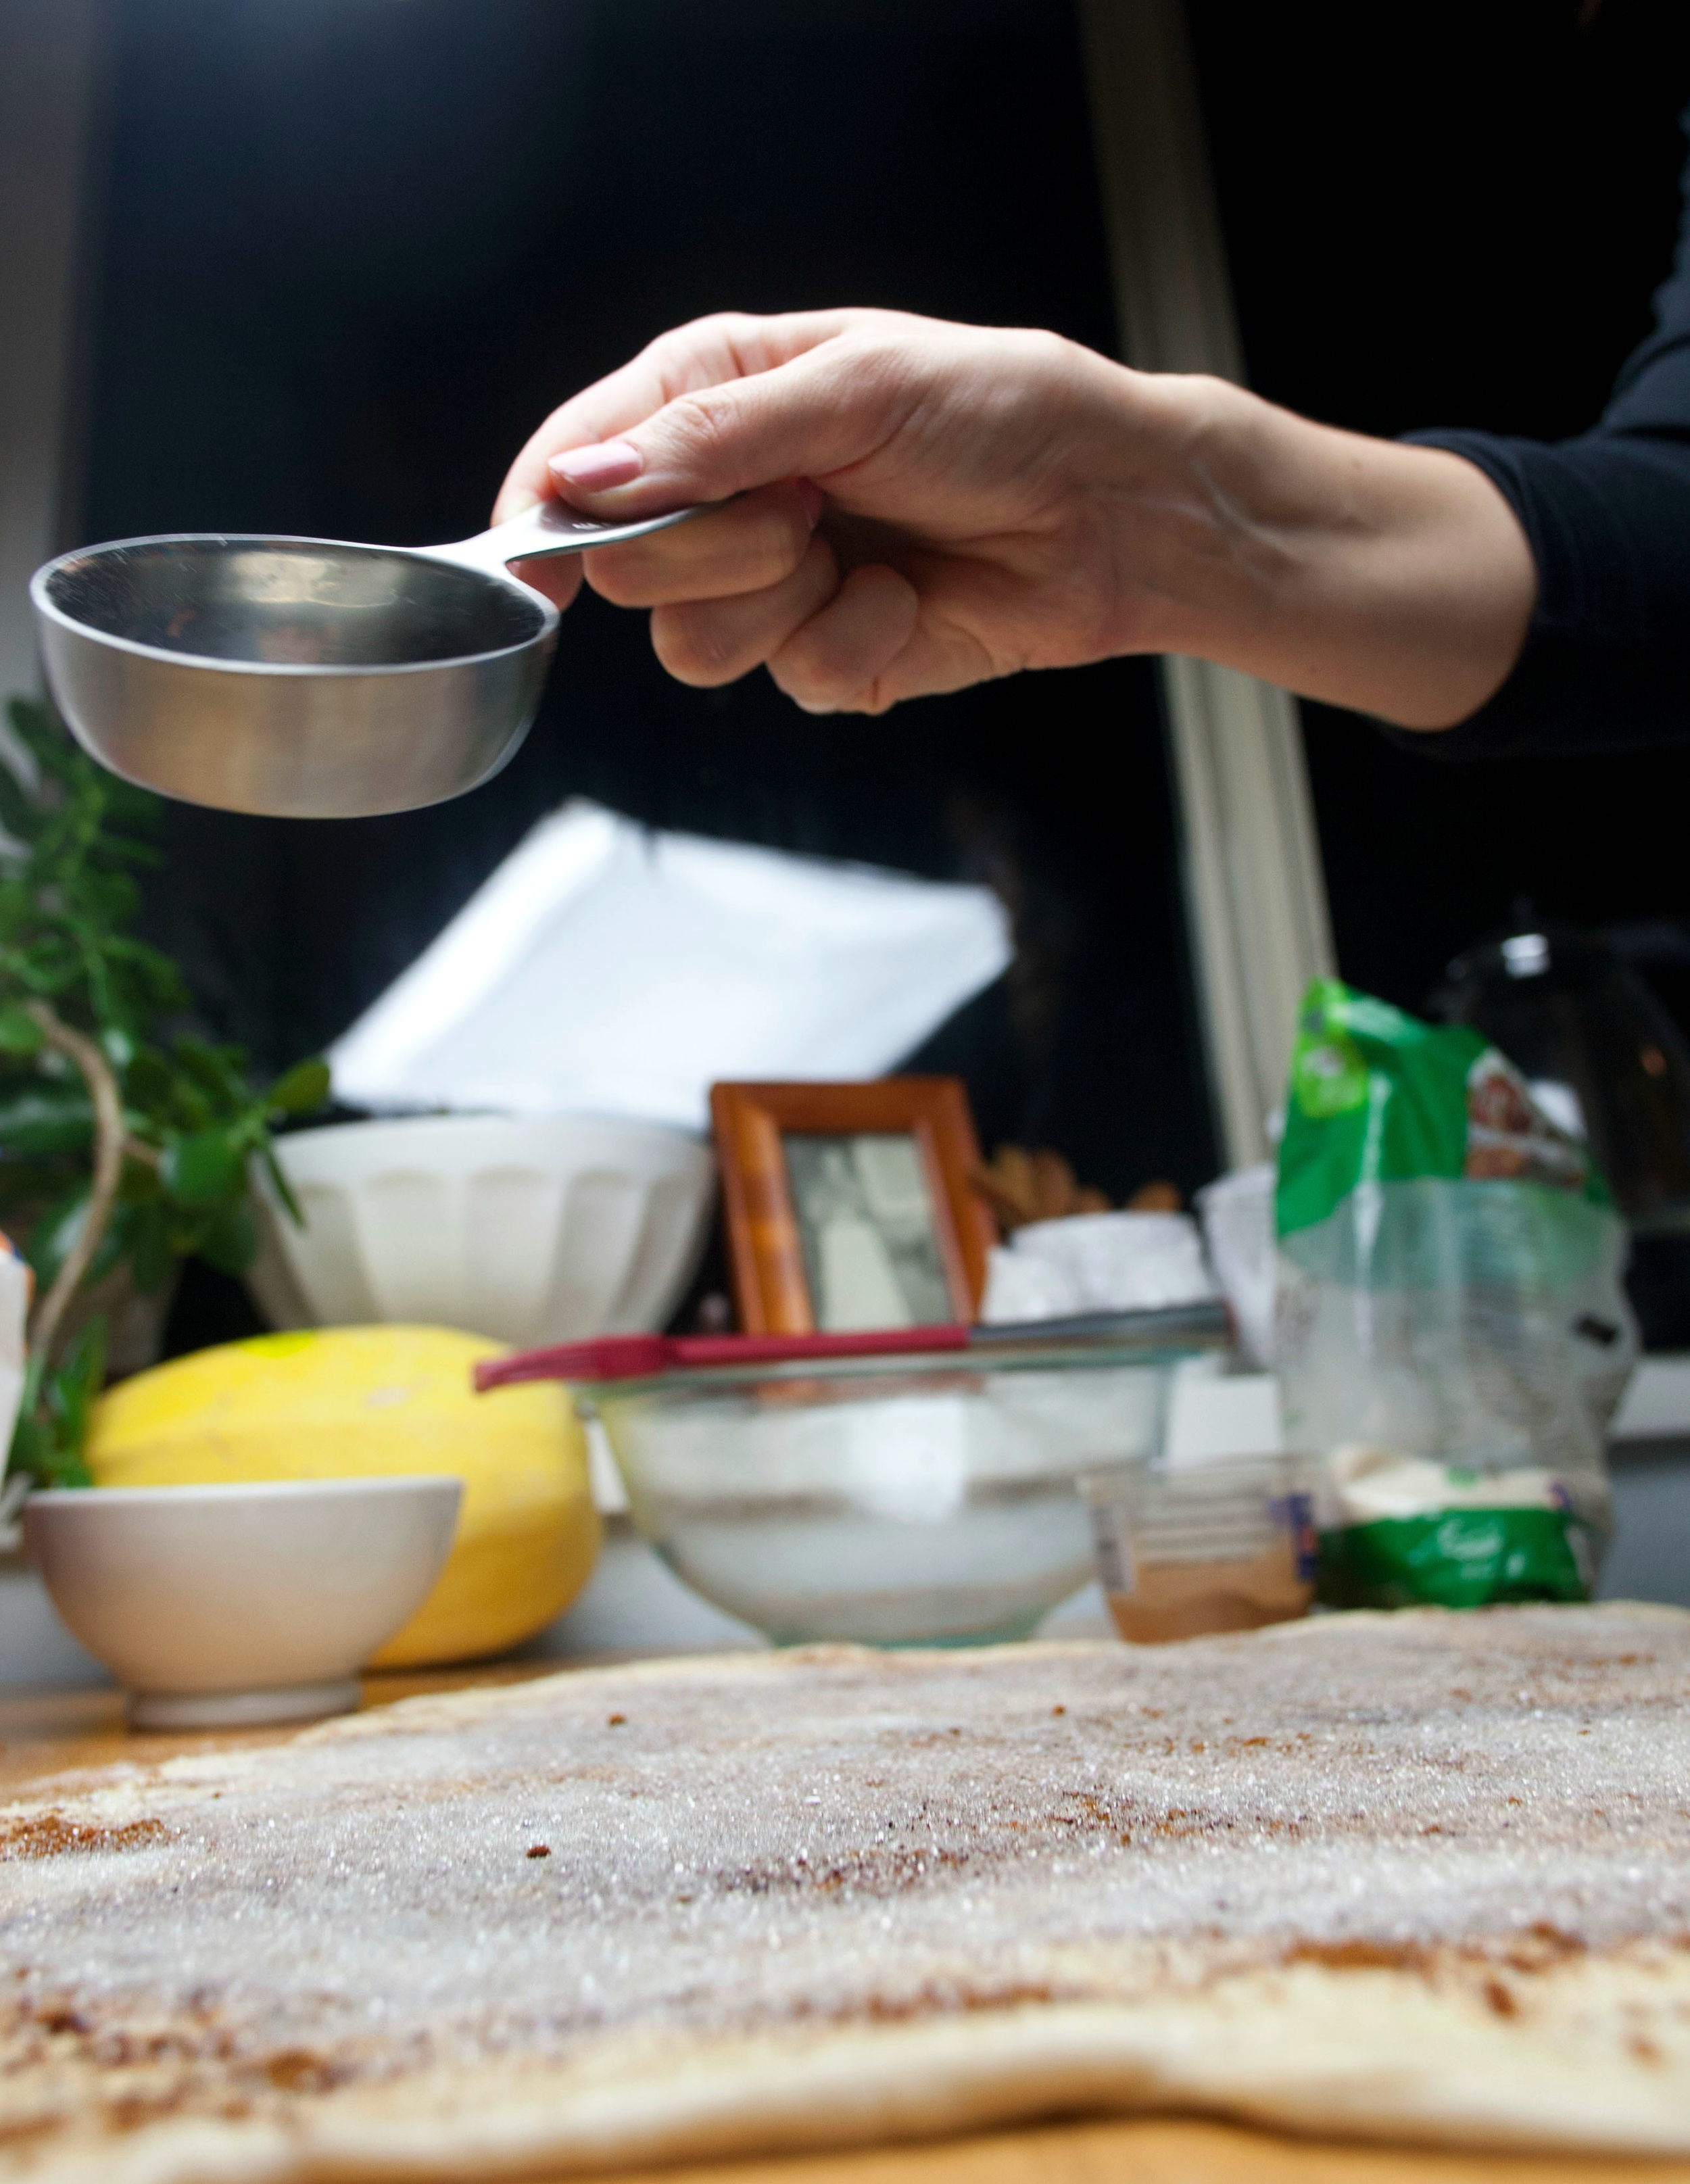 Coat a 8 in. x 8 in. clear baking dish with a nonstick cooking spray. Wait to preheat oven. Gently and evenly roll up the dough into a long log.
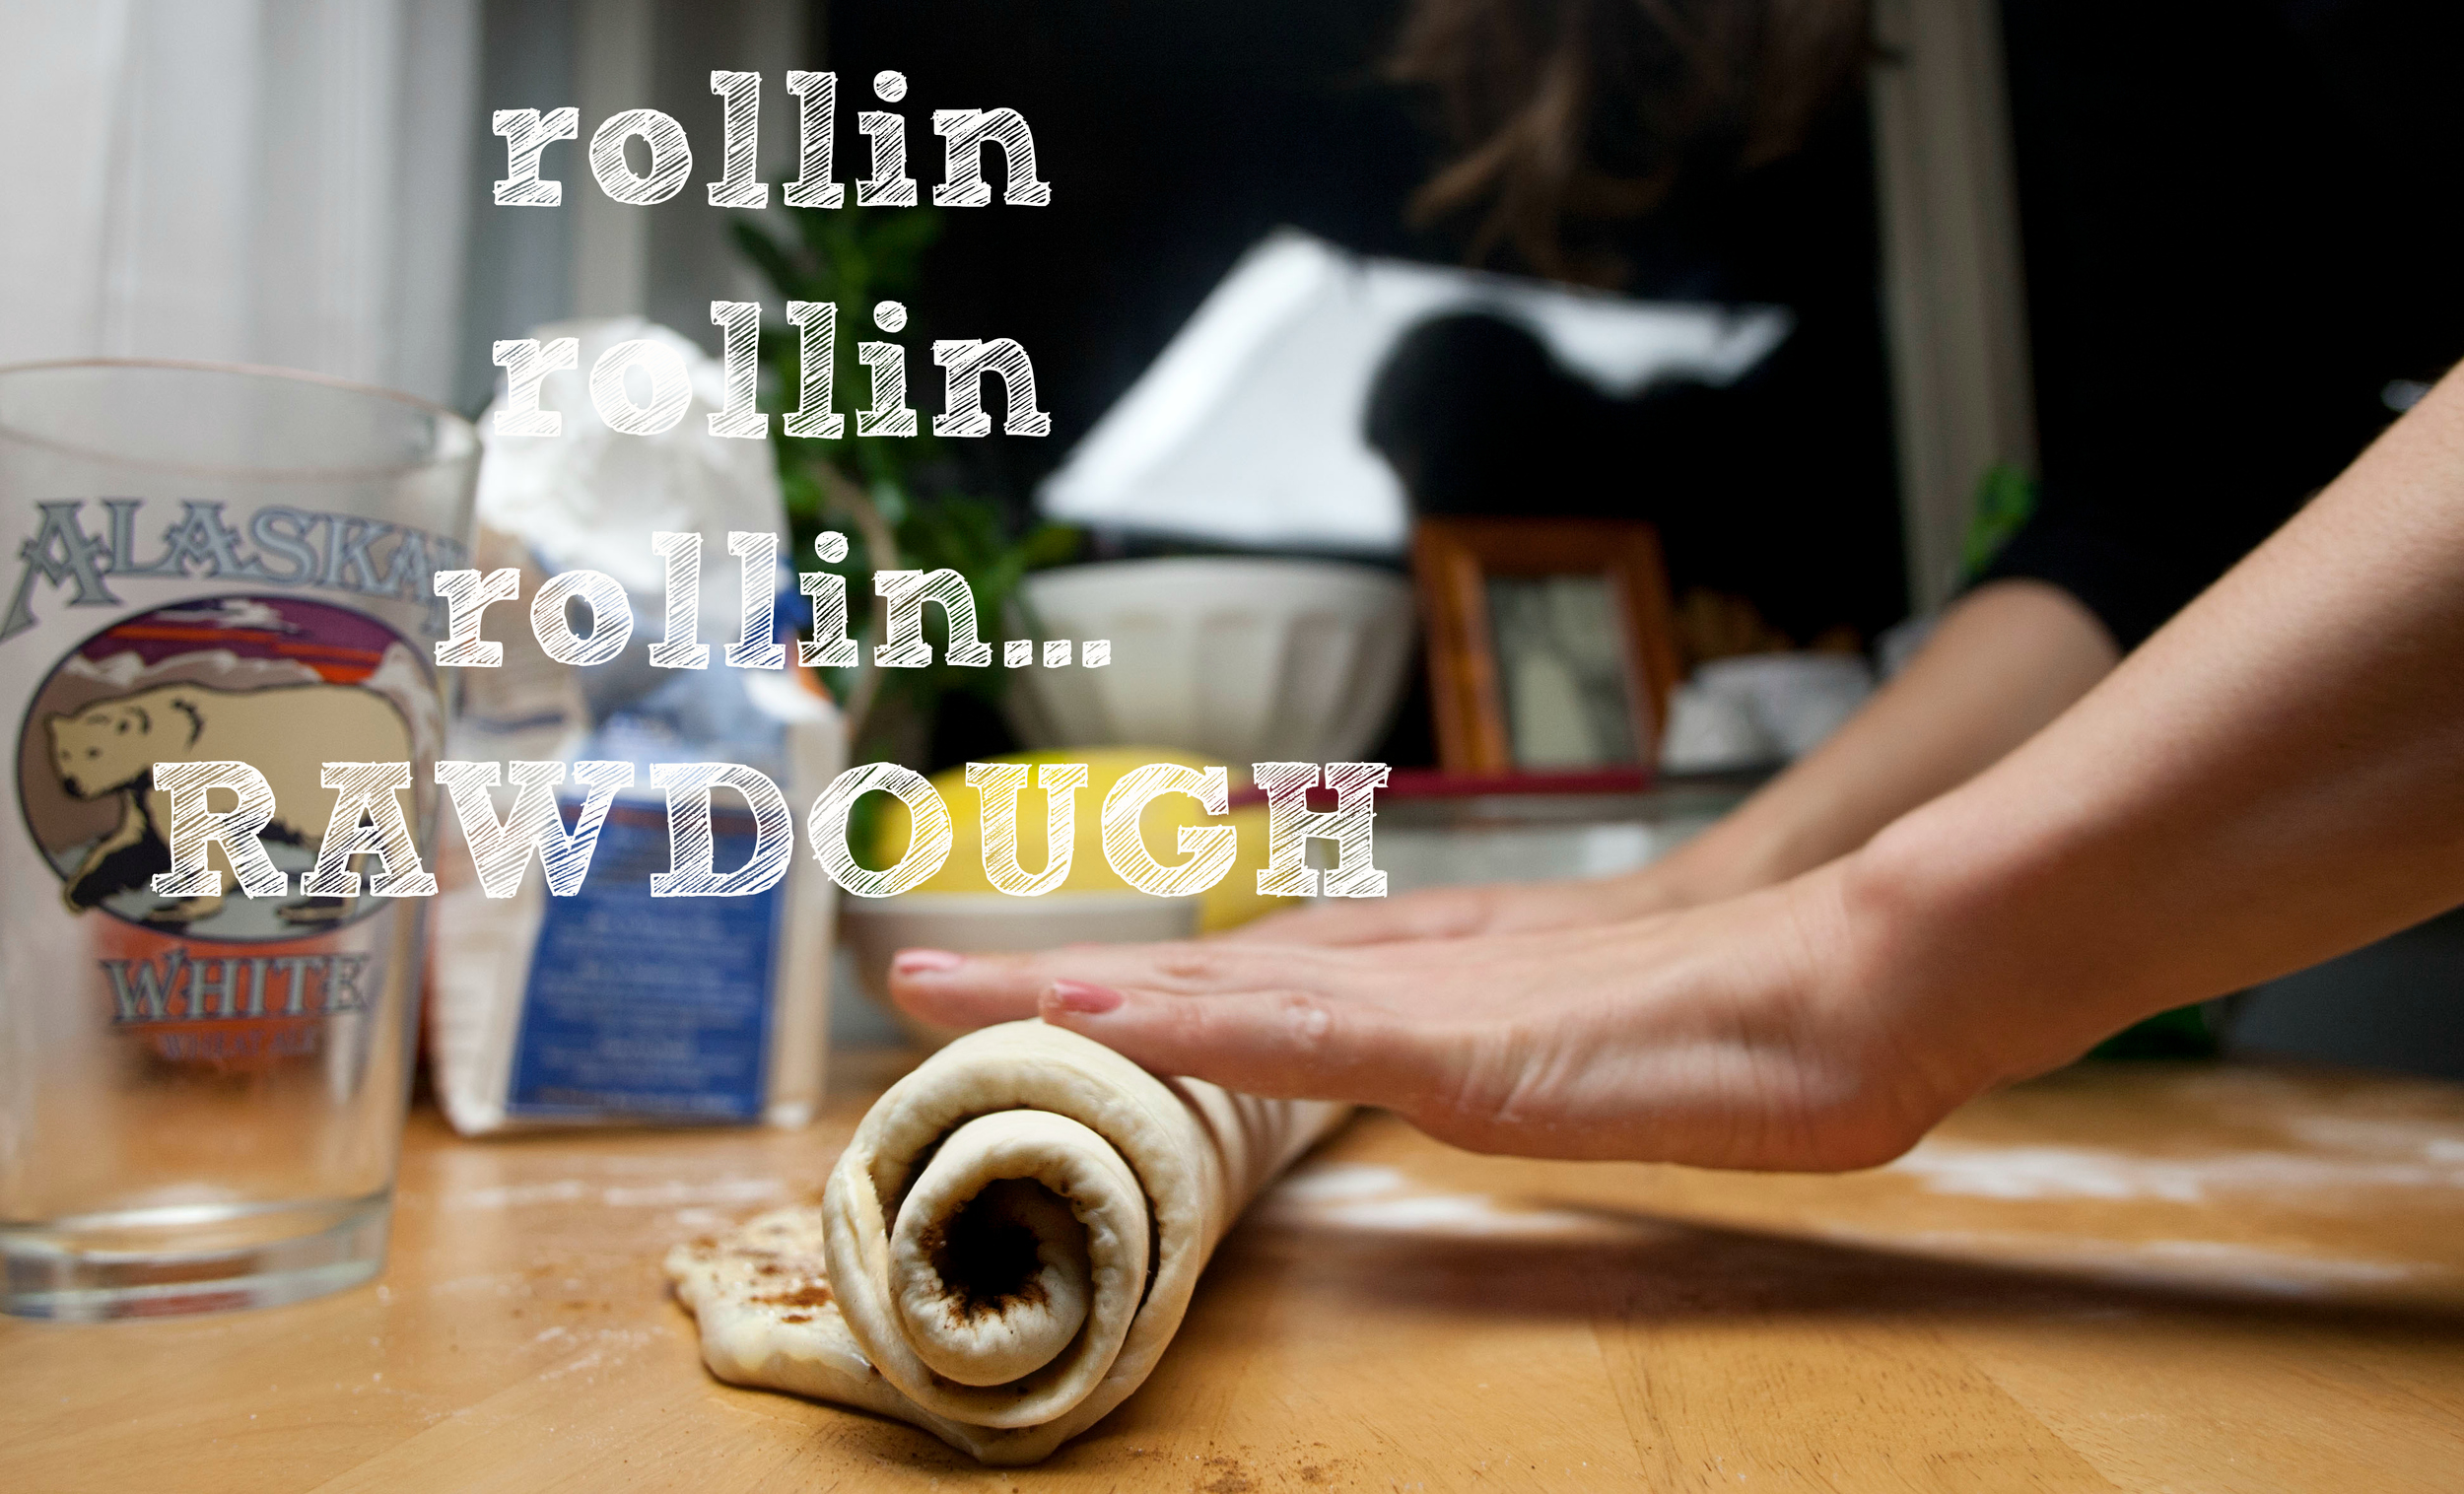 Using a serrated knife, gently cut it into 9 even slices. Then, place each slice into the greased baking dish and cover with saran wrap. Okay, now preheat the the oven to 350 F and place the dish on that spot on your stove where the heat from the oven likes to emit. It's where I have exploded a can of Pam, and most recently where Todd melted a purple onion shaped onion keeper. You know the spot. Let the dish sit there while the oven preheats.
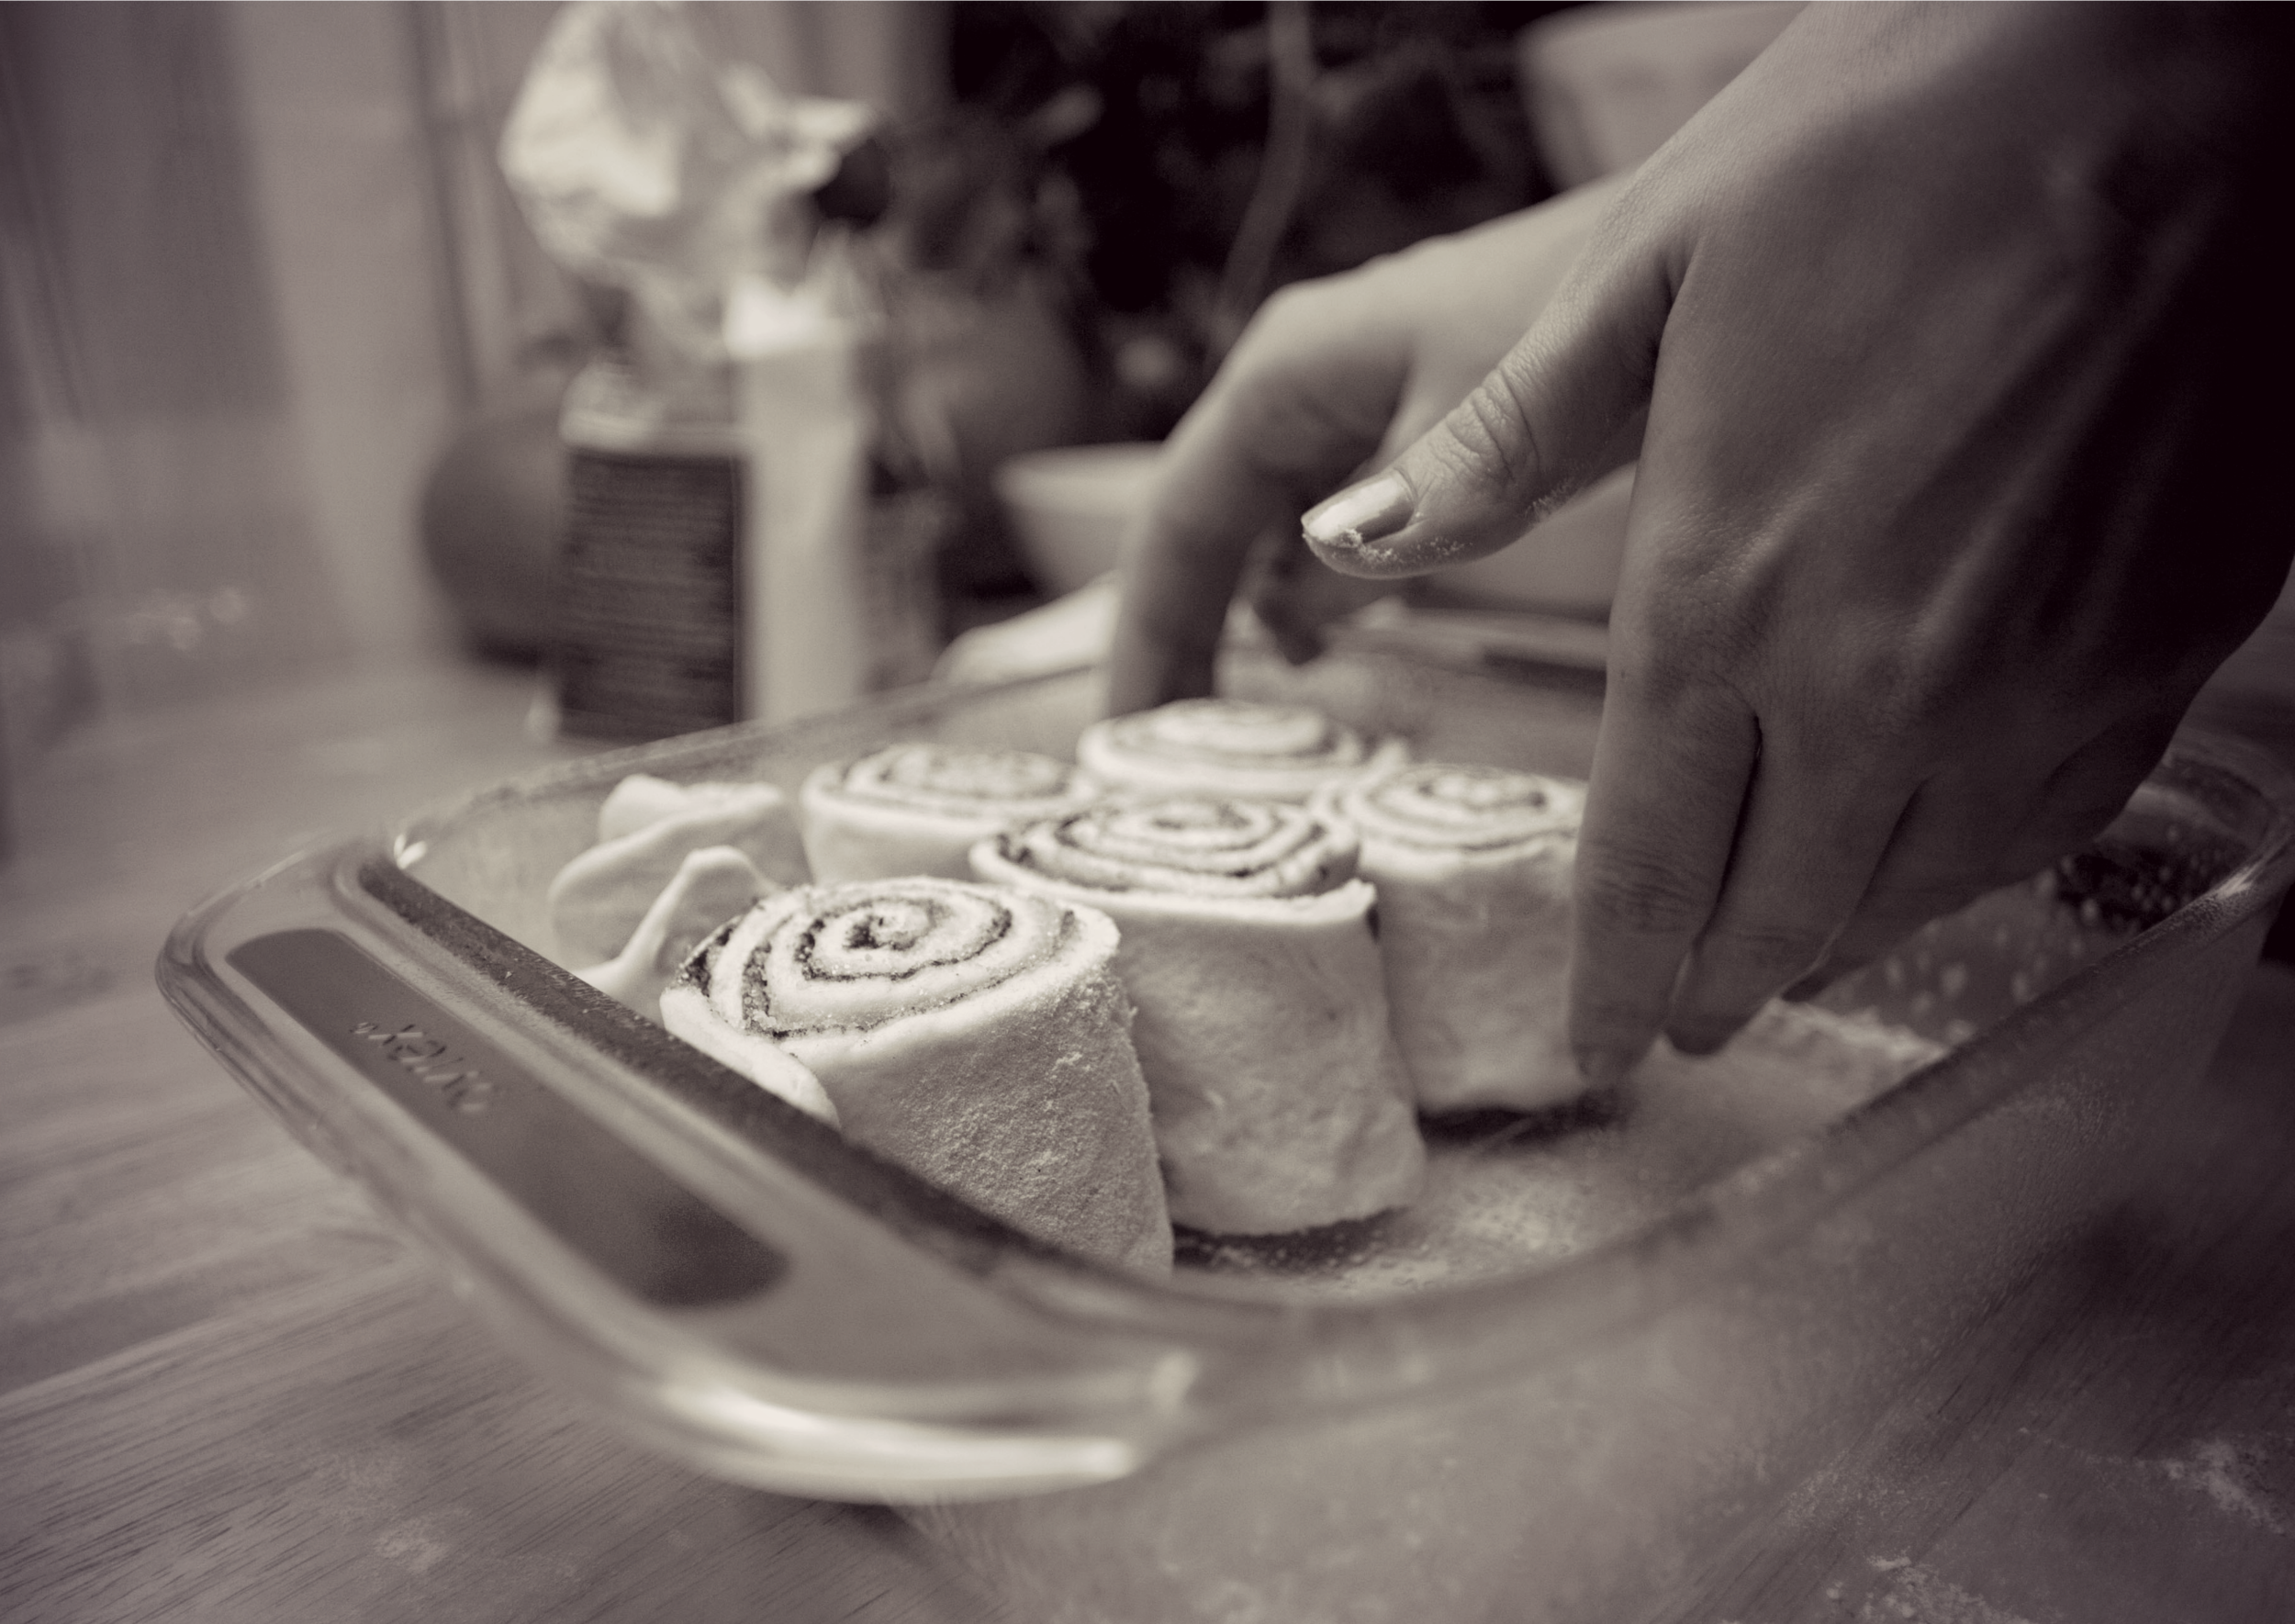 Once the oven has reached temperature, unwrap the dish and place in the oven to bake for about 25 minutes, or until the tops of the rolls are just barely golden brown. Remove from oven and allow to cool for 10 minutes before glazing.
 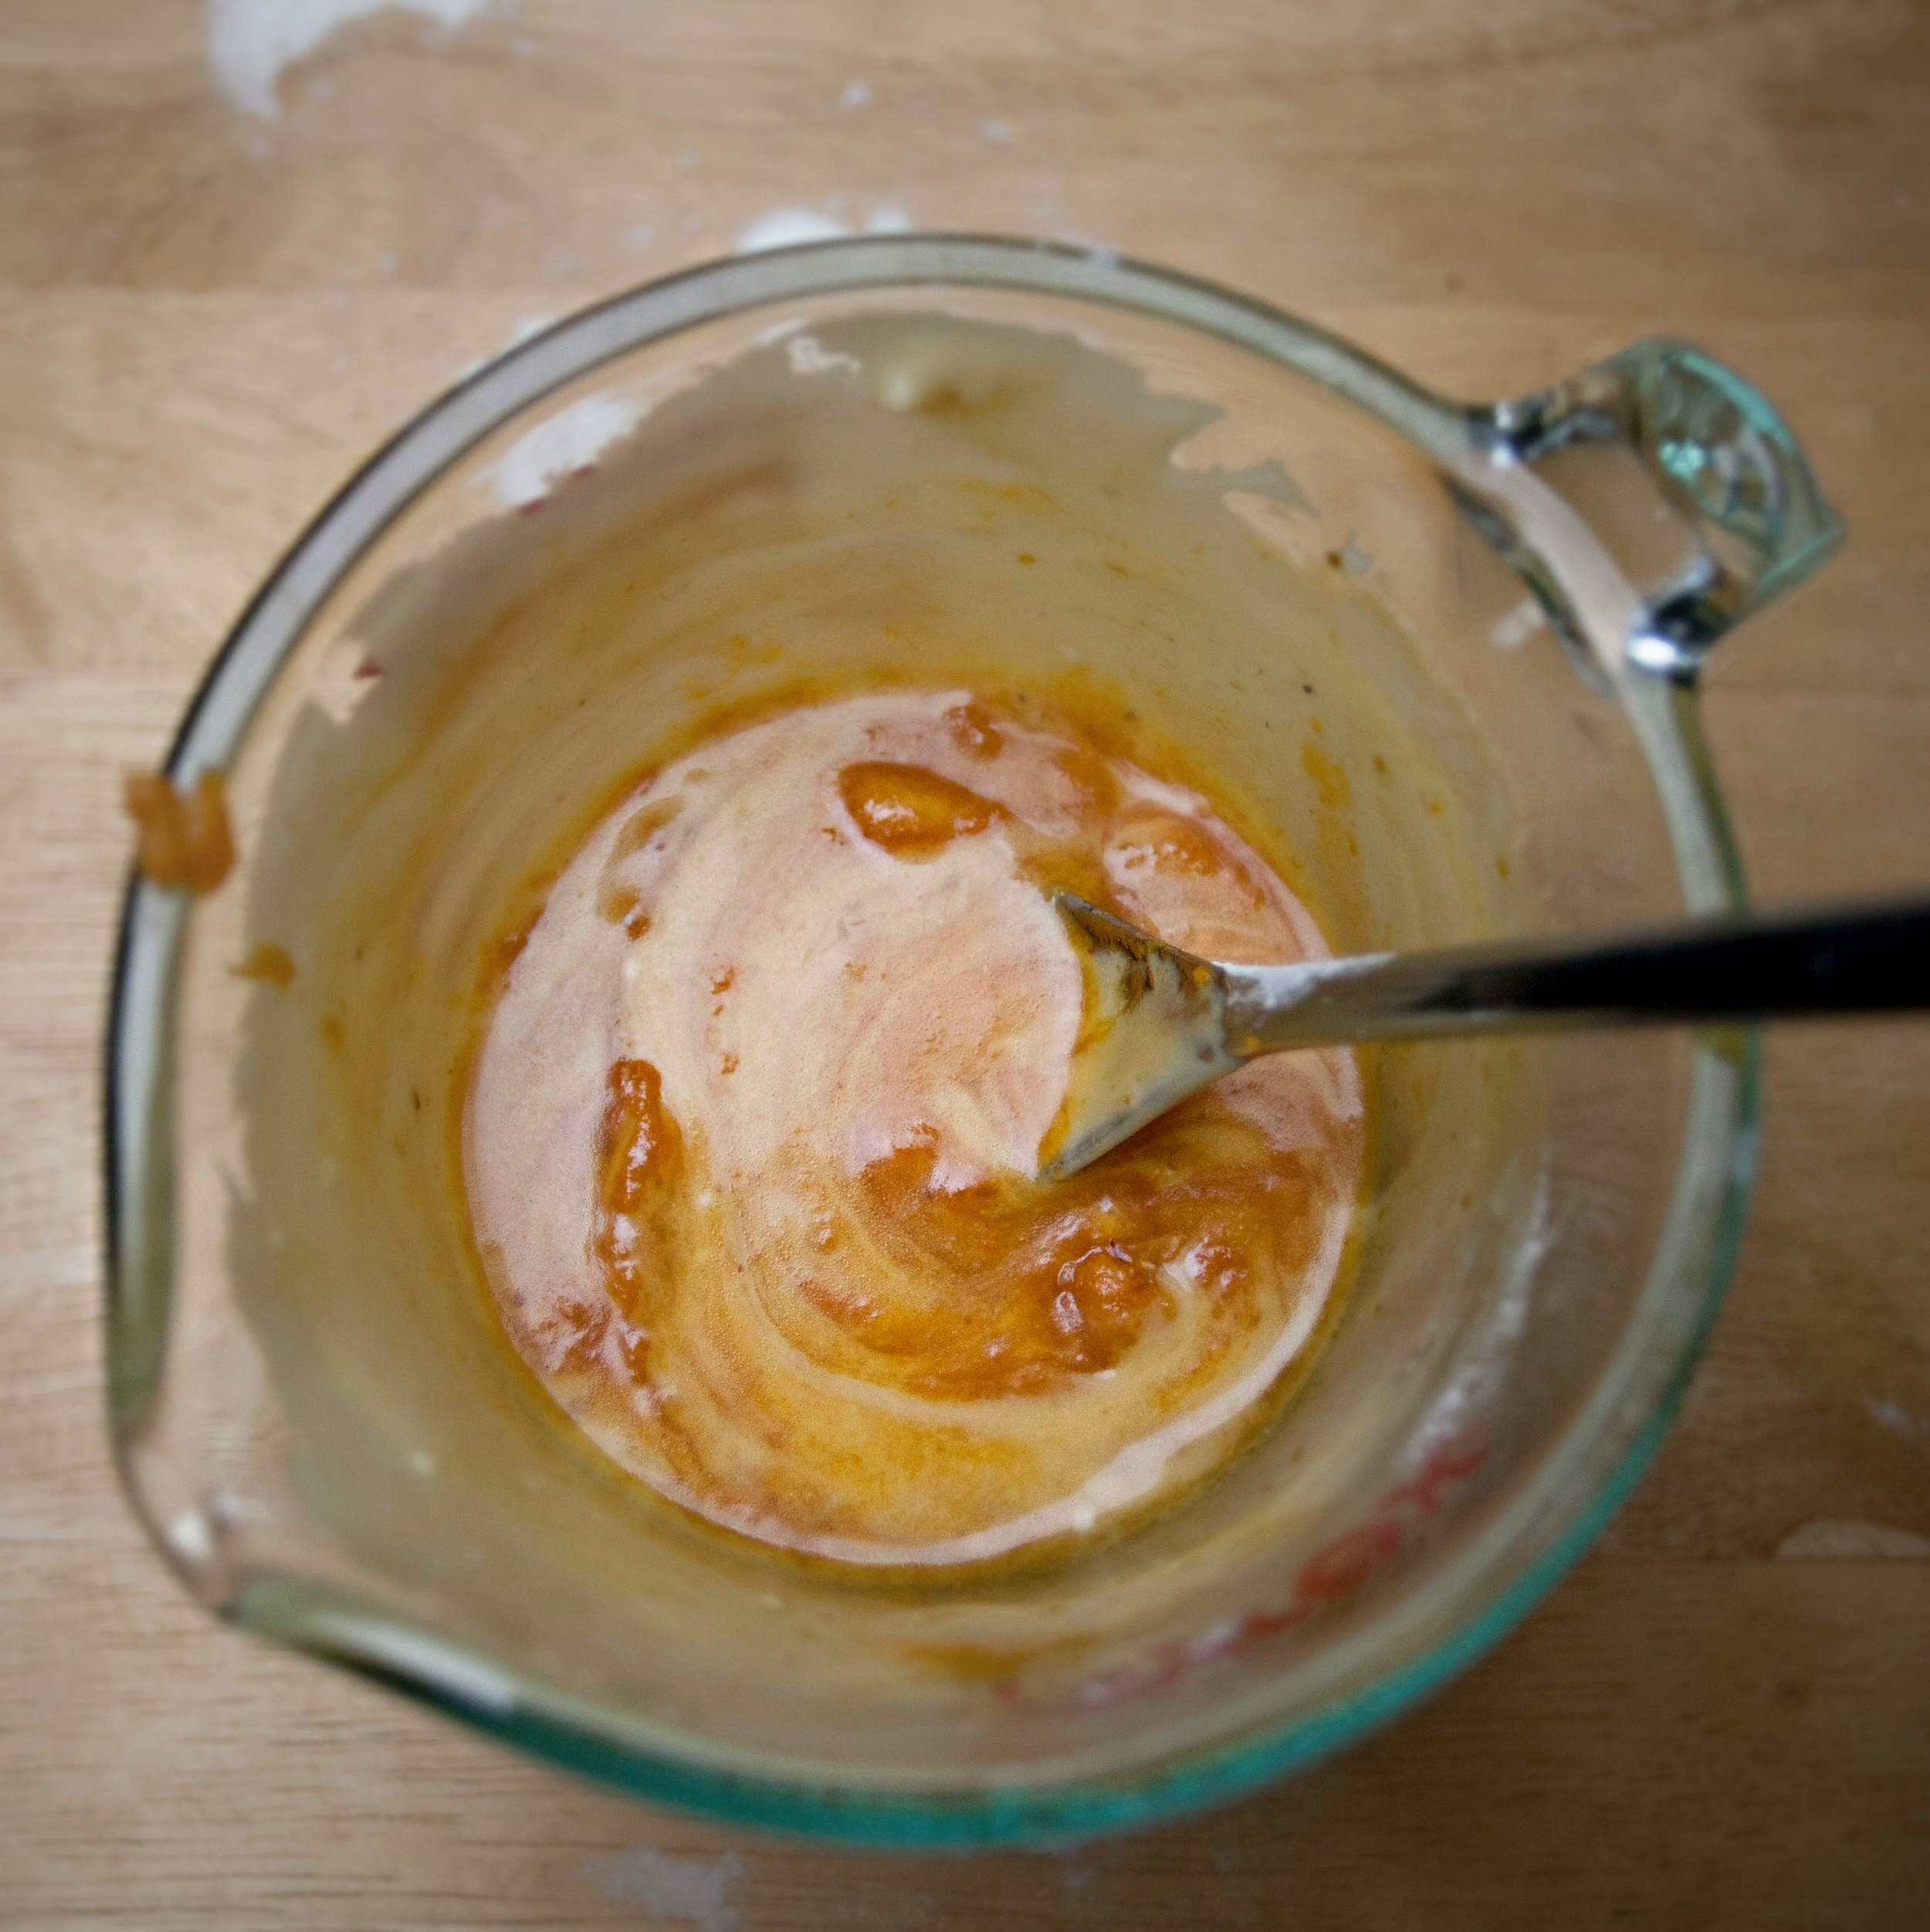 If the icing begins to harden by the time the cinnamon rolls are ready, just pop it in the microwave for a few seconds. Drizzle over the cinnamon rolls and finish with flake salt.
 Enjoy! Horde them all yourself or be super nice and share like I did.


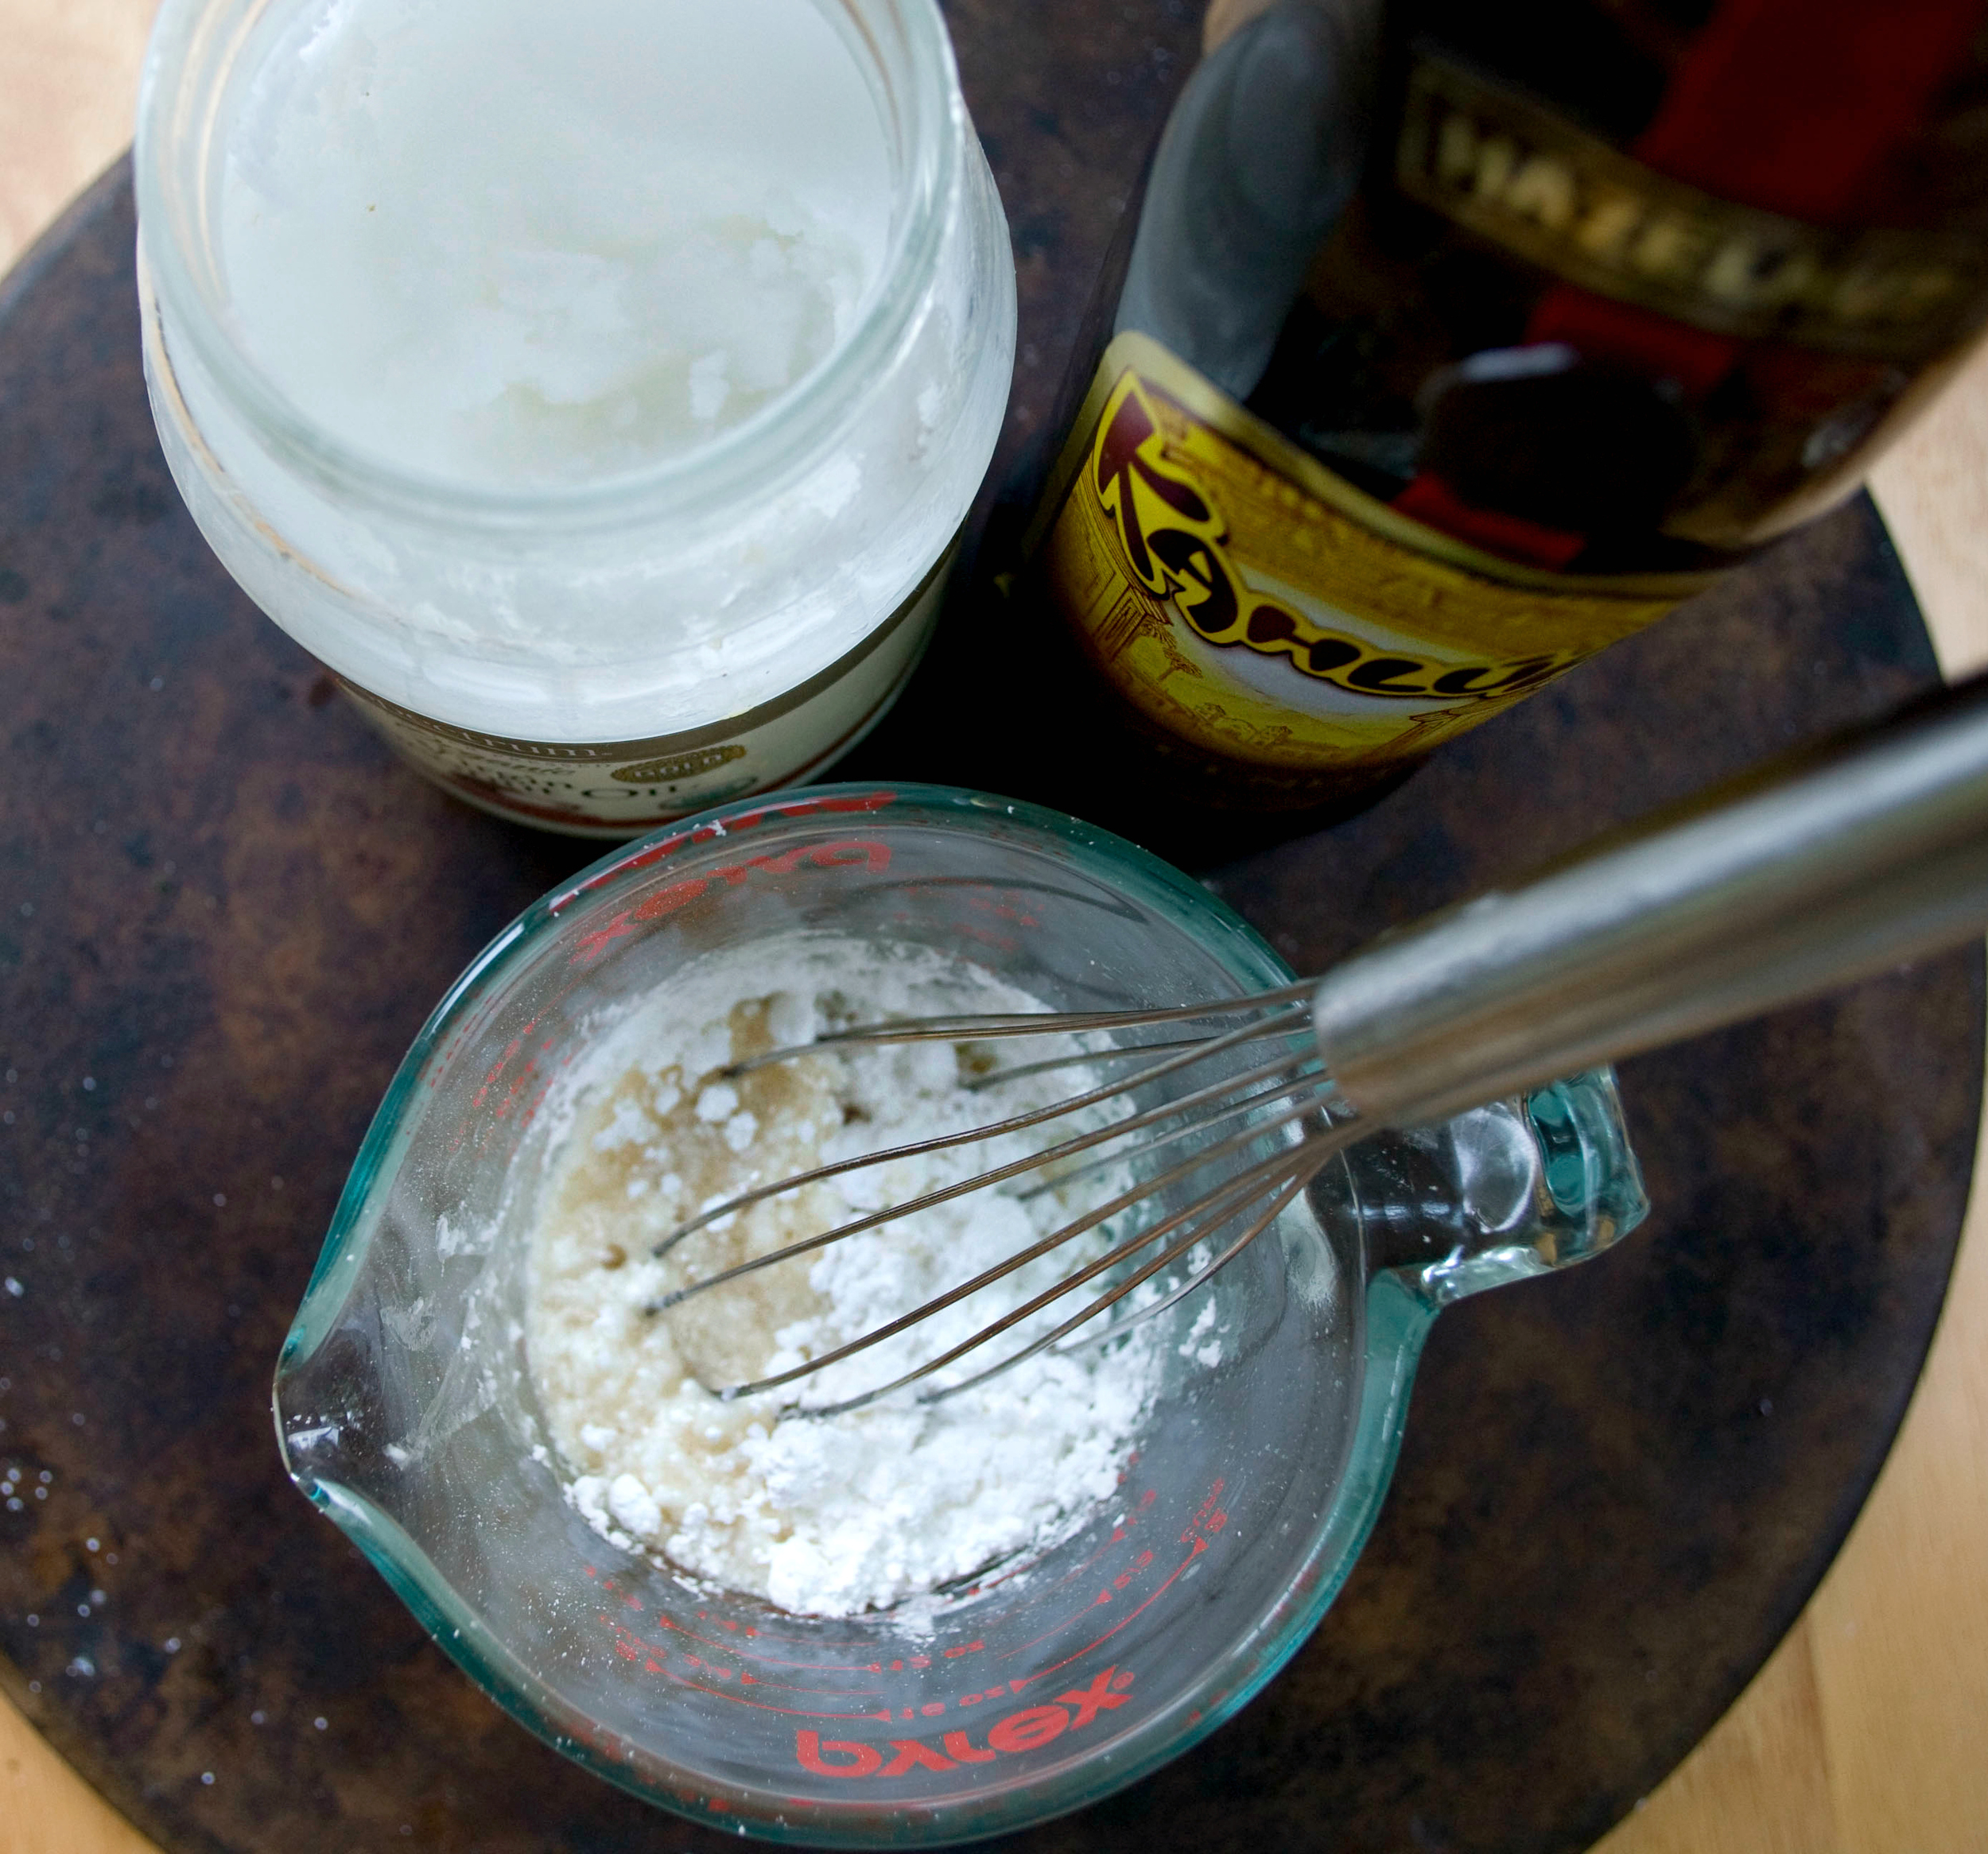 To make the pancakes, whisk the flour, baking soda, and salt together in a large mixing bowl. Then add in the milk, the flaxseed egg, and the oil. Mix until just combined.
 Over medium-high, heat a large frying pan and coat with a nonstick cooking spray. Add 1/4 cup of pancake batter to the pan. Allow the pancake to cook until the edges start to form bubbles, about two minutes, then "pipe" a swirl of the cinnamon filling onto the pancake, as such. Careful not to let it get too close to the edges of the pancake.
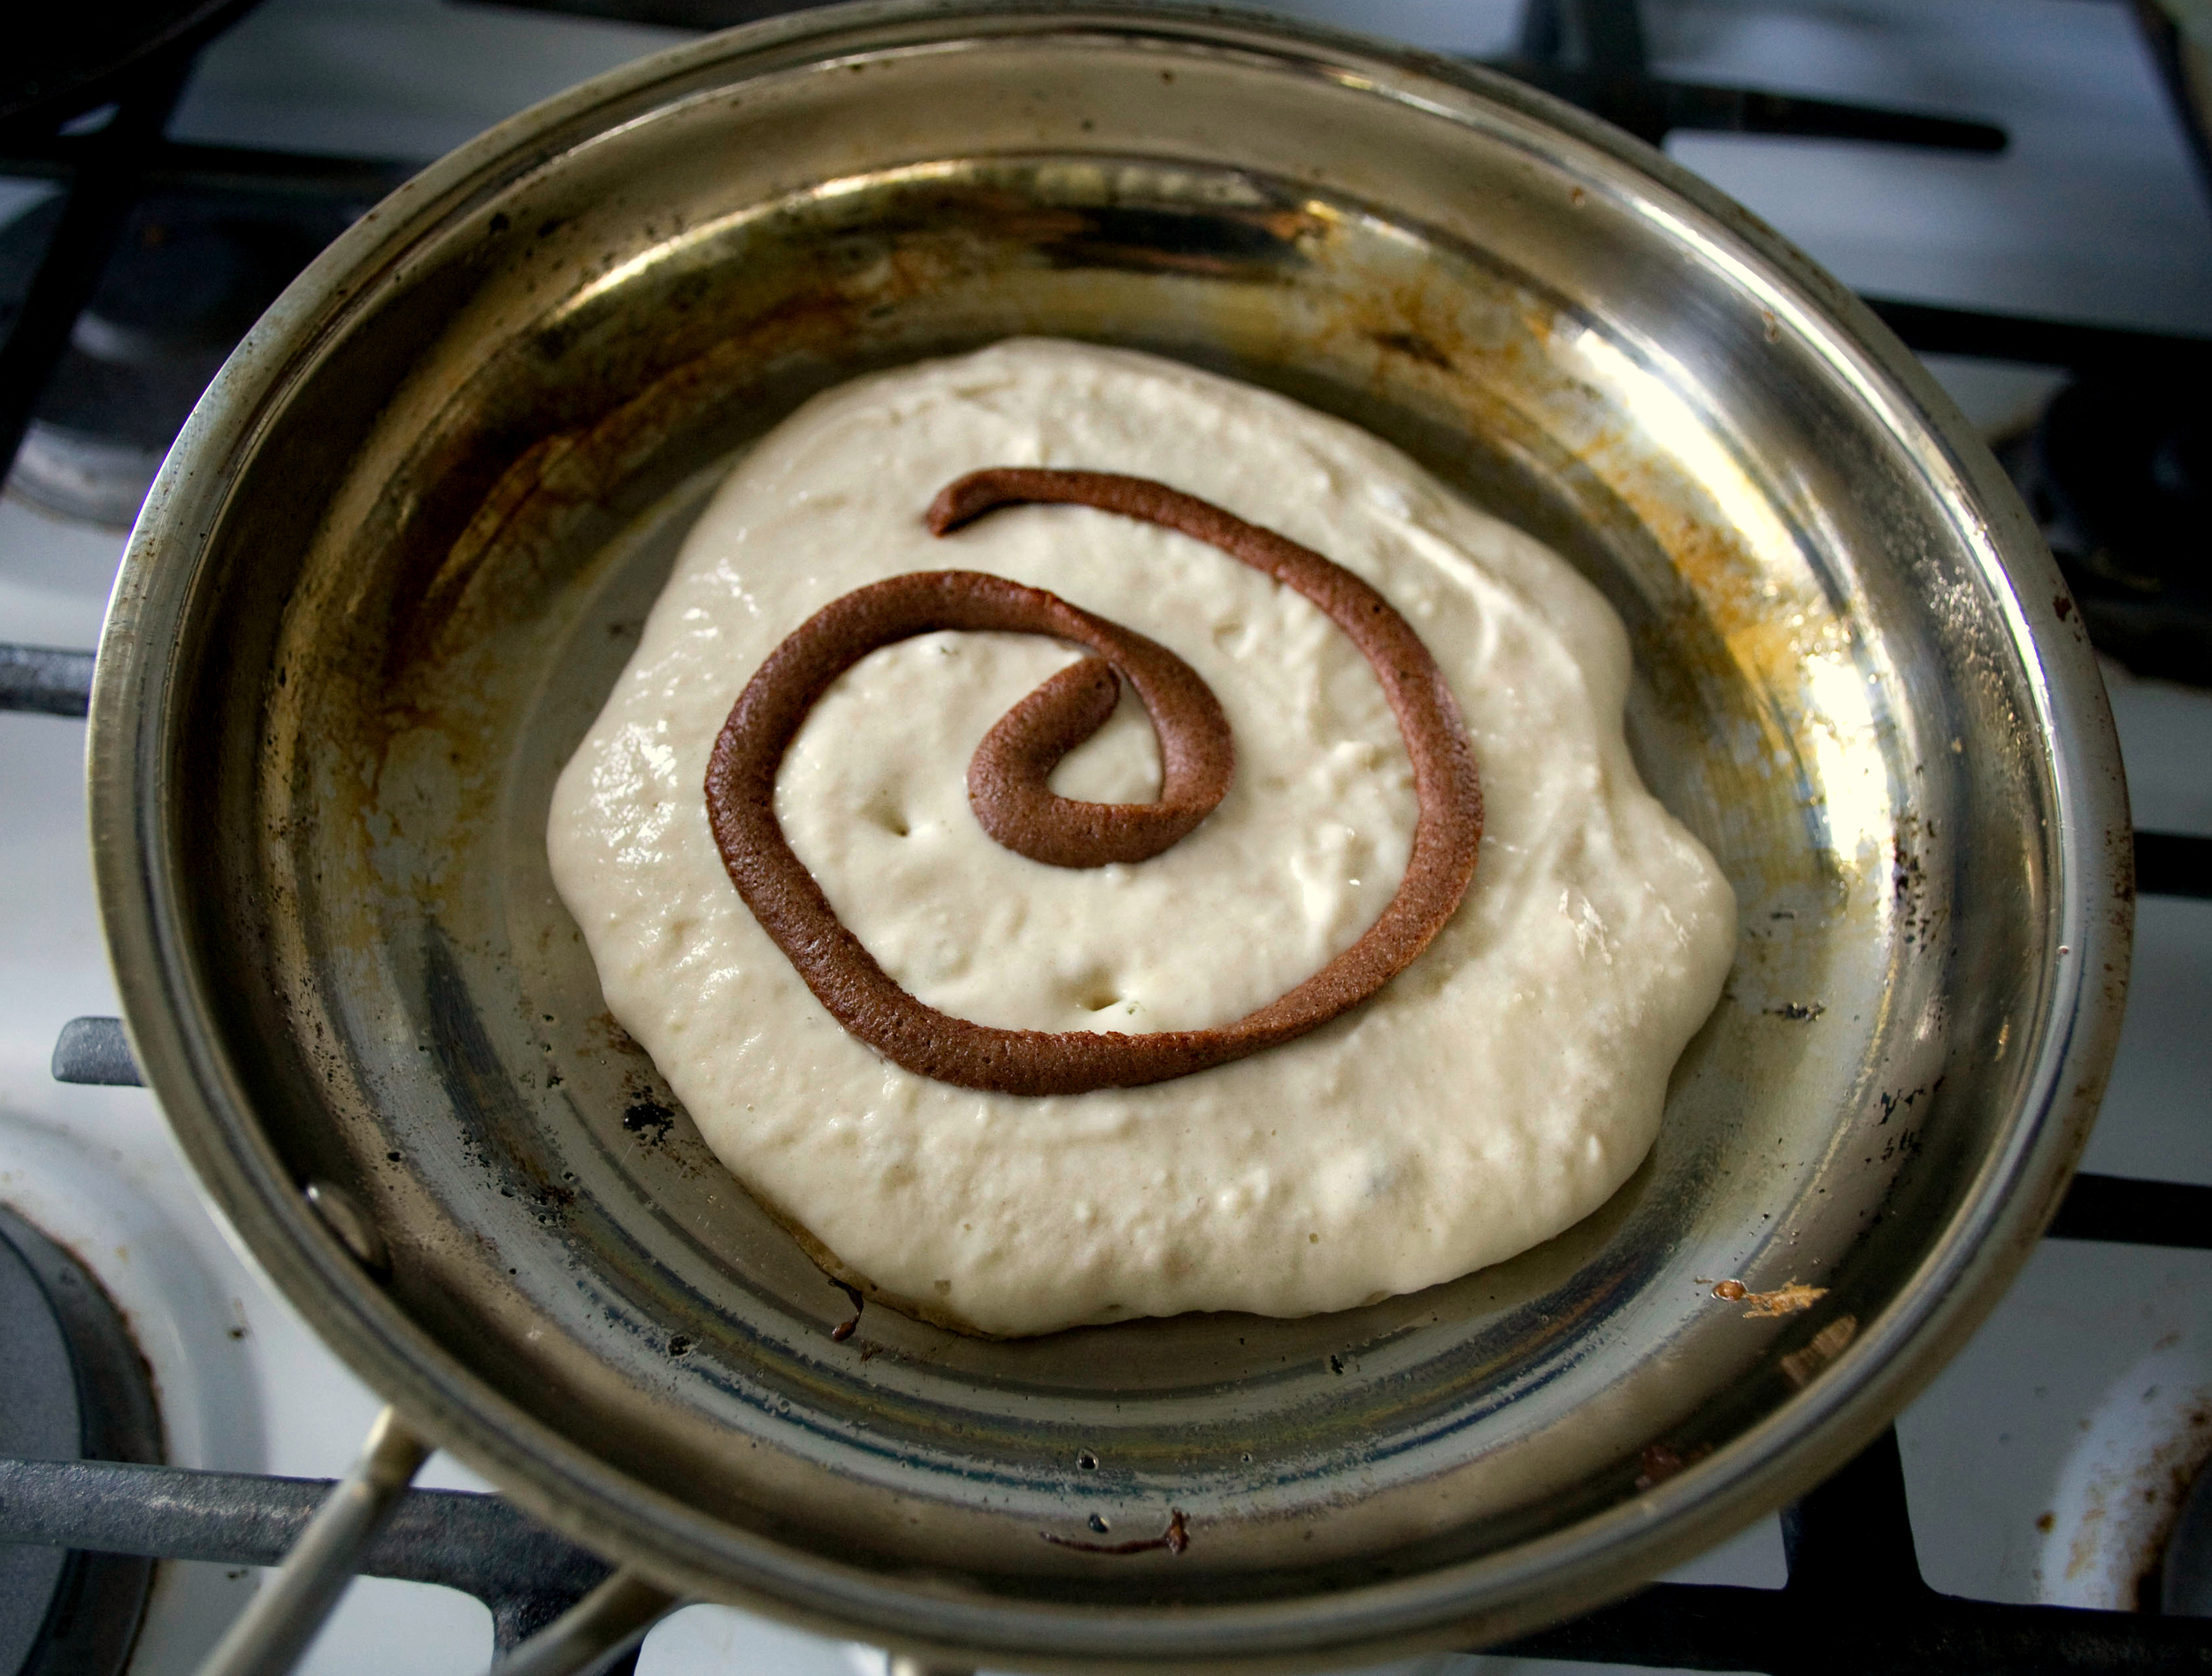 Then, flip the pancake over and allow the other side to cook for about 30 seconds. You don't want to leave it flipped for too long or else the filling may begin to burn. Some of the melted filling will seep out from beneath the pancake and that's okay. Remove the pancake from the pan once cooked through and place on a plate.
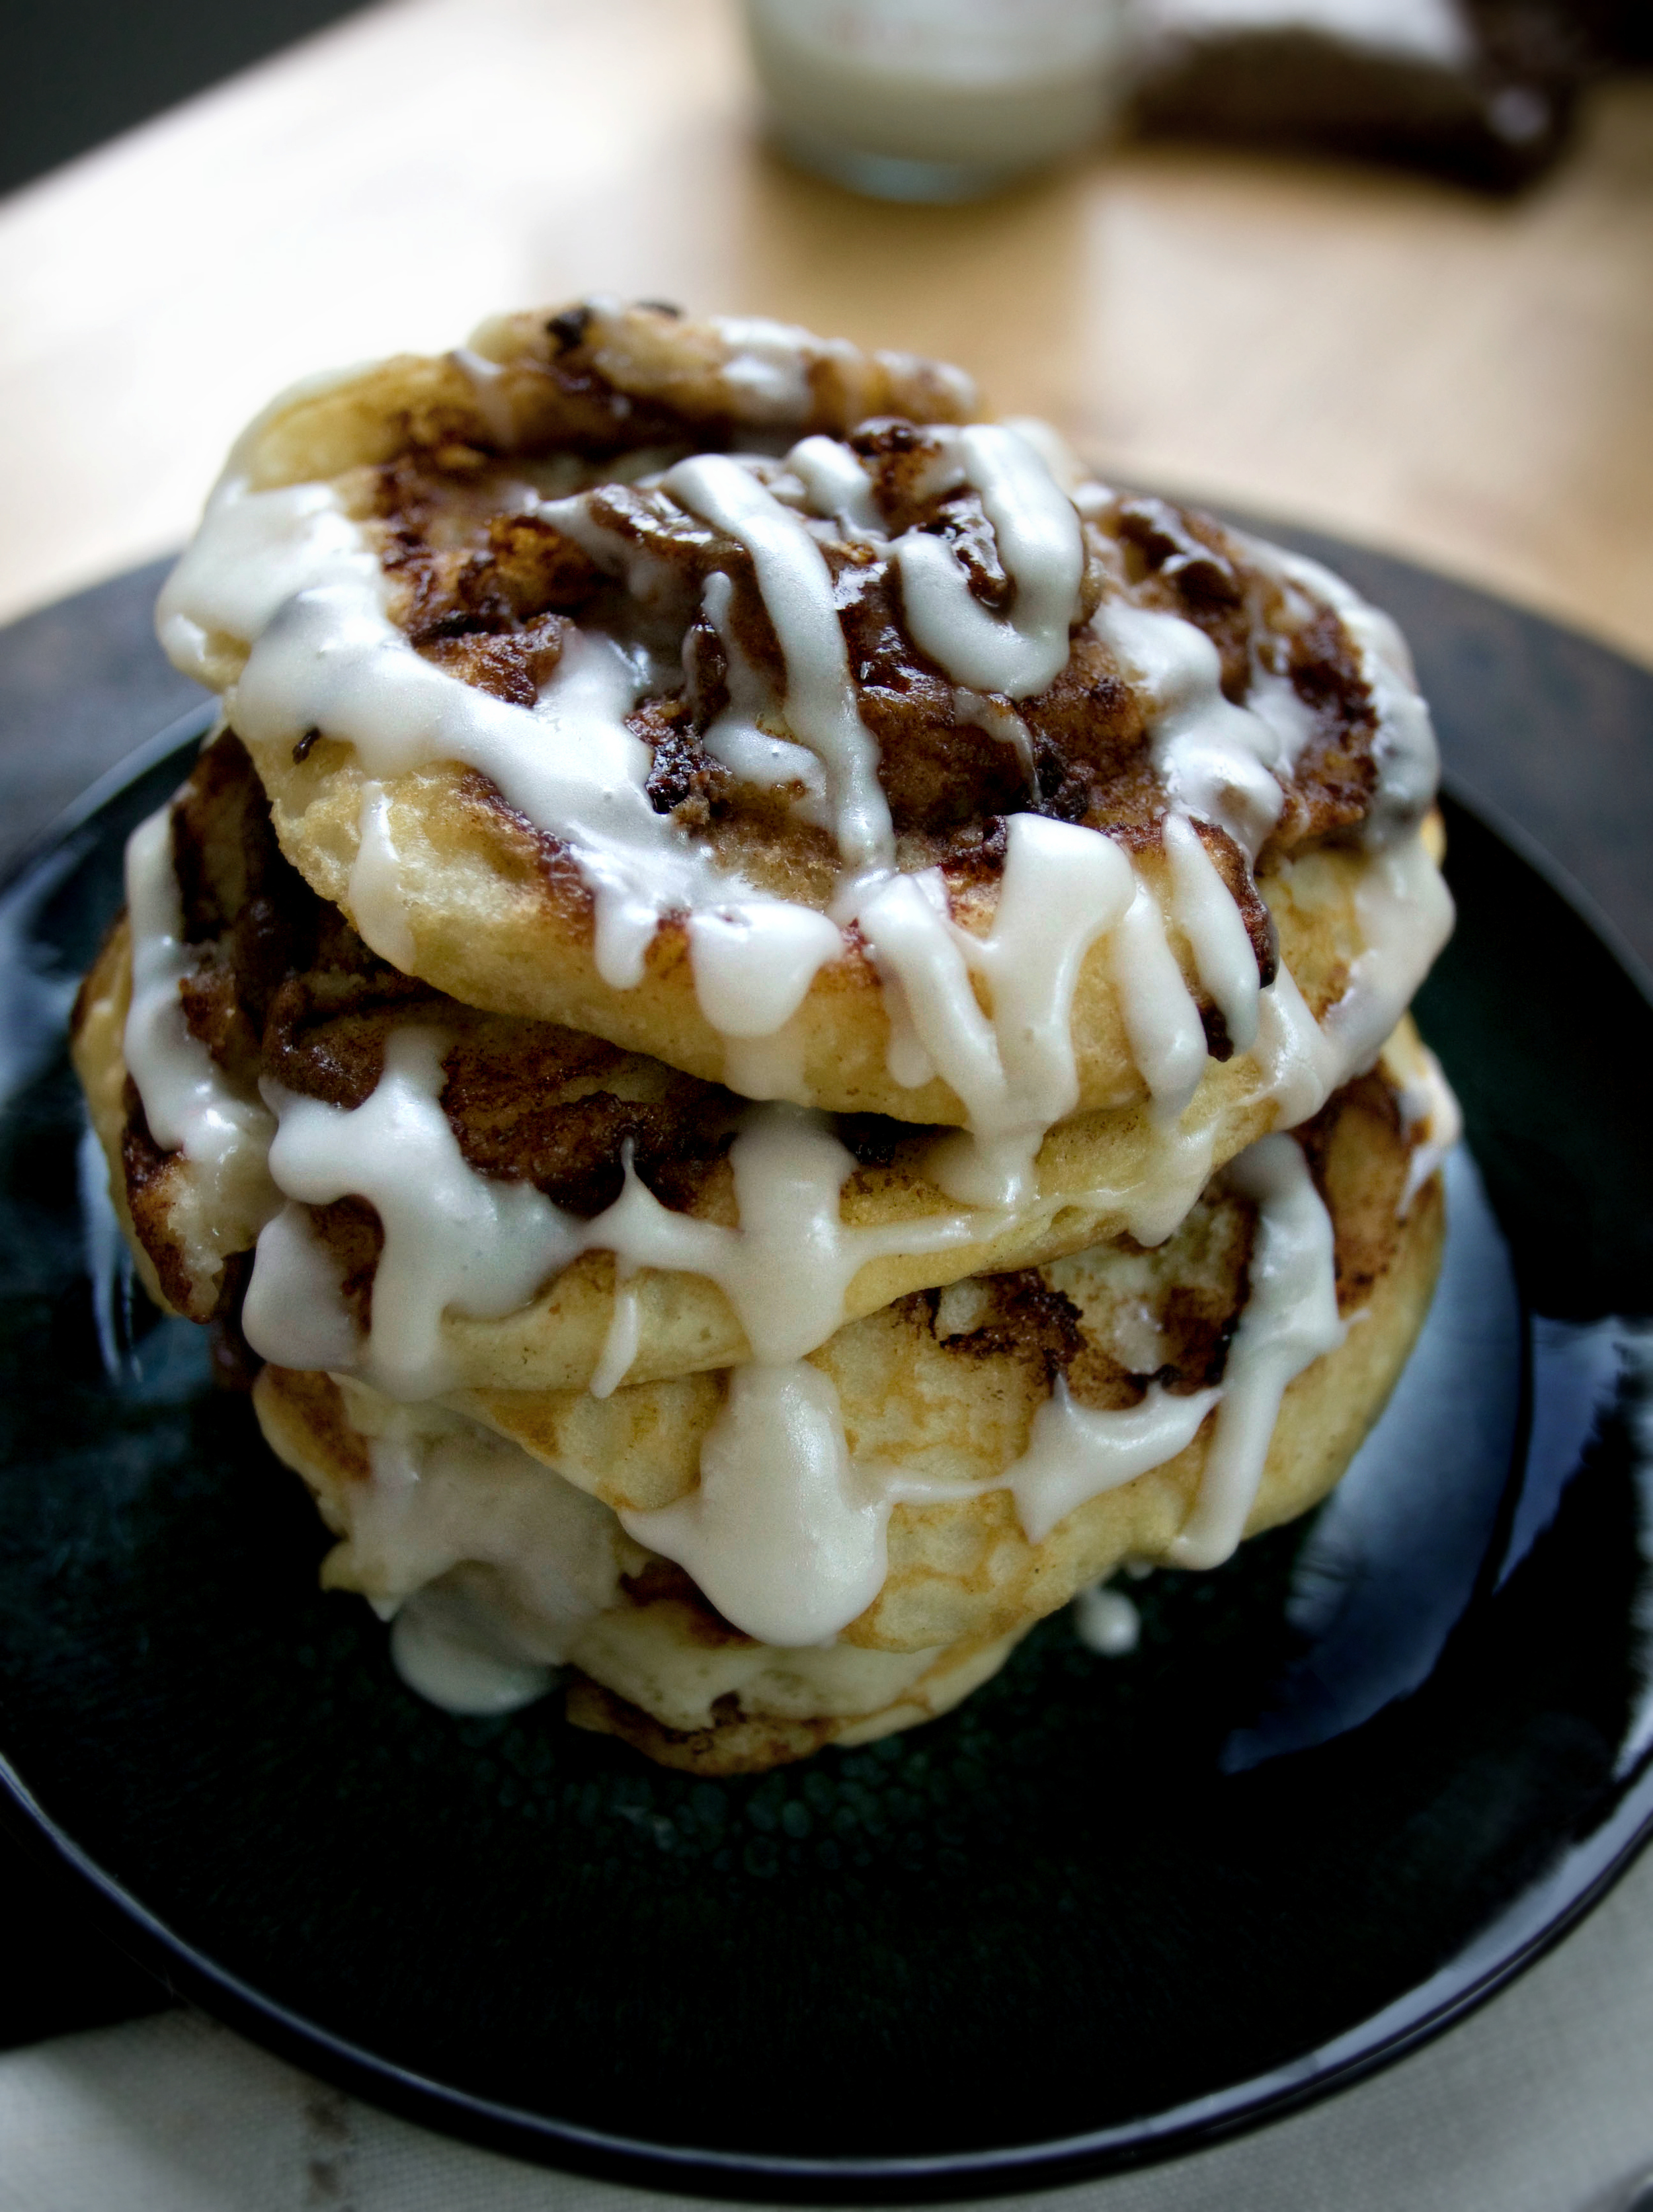 Serve the pancakes stacked high, hot and drizzled with the coconut icing. No need for maple syrup or butter!